Do you need a Bloodline walkthrough for A Plague Tale: Requiem, including all collectibles? In this A Plague Tale: Requiem guide, we're going to reveal how to achieve 100% completion in Bloodline. There is 1 Souvenir, 1 Feather, and 1 Secret Chest to find in Bloodline.
A Plague Tale: Requiem: Bloodline Walkthrough
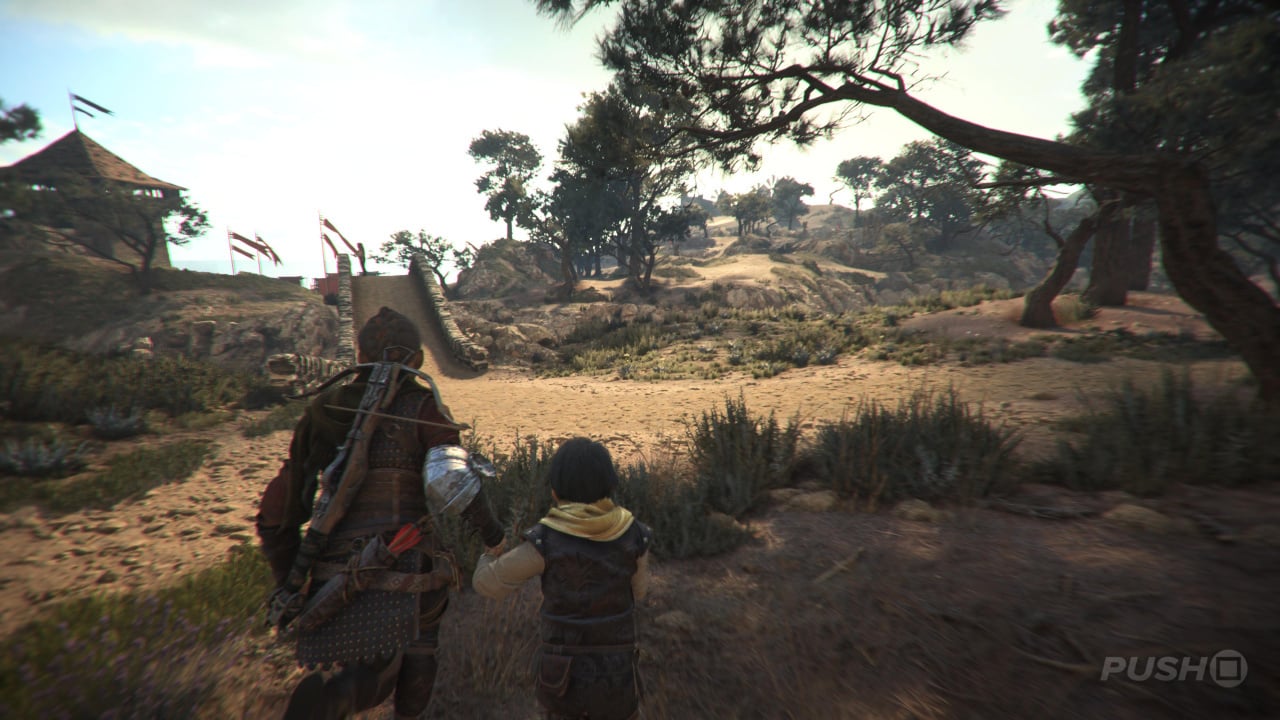
Following the events of the previous chapter, you'll return to the large open valley you were in before. You need to go back to the map from before for another inspection. Head back across the bridge and take a right, looking for the gap in the rock to squeeze through. The map tells us to head in the direction of the windmills, which are on the other side of the arches once you leave the theatre. Pass under the kites and go through the flower-covered arches to join the party.
Head up the hill and past the barn to the ruin just to the left of the windmills. The door leading inside is locked, so run round the side of the tower and climb through the window. Up the ladder is a place to shimmy across to the other side, and then you can shoot the lock off the main entrance through the gap in the rock. Go back there and climb the tower all the way to the top. You'll spot where you need to go in the cutscene.
When you regain control, follow the path along to the broken bridge. Drop down and use the Anchor Point by shooting a rope from your crossbow and pulling the bridge down altogether. This allows you to cross and follow the path down to the beach. Turn right once the path reaches the ocean and you'll spot the fort ahead.
Continue along the coast and you'll start spotting dead bodies, one chained up and the other falling from the cliff above. This is your introduction to the slavers, who rule the roost in these parts. Drop down into the area below once it's safe, and use the tall grass and the buildings to get by them stealthily. In the next area, in order to progress, you must climb up the building in the centre to find an Anchor Point you can shoot at the rubble blocking the door ahead.
In the ruins, crawl through the gap in the wall on the right and scale to the floor above. Command Sophia to use the crank below, which will pull the chandelier up. Now use the Anchor Point next to you and shoot the chandelier, pulling it towards you and then releasing it to destroy the door. In the next area, you can grab Feather #1: Raven.
Feather #1: Raven
After escaping the slavers for the first time, go through the ruined chapel by launching the chandelier at the locked door. On the other side, take the left-hand path and follow it down to the rocky cliff edge. At the end will be the Feather of a Raven.
Return to the main path and climb up for a cutscene revealing what the slavers are really all about. Afterwards, run after Hugo and interact with him at the cliff edge. Once he's come around, you can collect Souvenir #1: A Rag Doll.
Souvenir #1: A Rag Doll
After reuniting with Hugo following the cutscene where he reveals his rat powers to Sophia, you'll be in a ruined building with blue tiles on the floor. Before heading through to the other side, look to your left and there'll be a contraption you can use your Crossbow on. Shoot the rope at the weak bricks on the other side and pull it down. Climb through, and by the tree covered in blood and chains is A Rag Doll to interact with.
Return to the ruins and use the other exit to encounter another vast area packed full of enemies. Your task is to reach the towers at the end of the area, but it won't be easy with many enemies standing in your way. Employ the usual tactics of killing the enemies not wearing helmets, sticking to the tall grass, and creating distractions. Don't forget you have Sophia's Prism to create diversions. We advise heading down the left-hand side of the area, weaving in and out of buildings and the tall grass.
Once you reach the drawbridge, it'll be raised before you can get there. Head down into the moat and squeeze through the gap in the rock on the left. It may be a good idea to shoot the guard patrolling the bridge before you go out into the open.
When you enter the castle, you'll be ambushed by a guard. Sophia kills him and gives you the chance to get on the cart while she raises the drawbridge. The rats soon appear, though. Here's where you can grab Secret Chest #1.
Secret Chest #1
When you're in the fort and riding the cart pushed by slaves, the rats will suddenly swarm the grounds. Sophia will save you by creating a light around her and you using her Prism. If you look to the right corner of the area, where there's a hole in the wall, you'll spot a Secret Chest at the top on the platform. Use the Prism's new ability to reach it by lighting new fires and then crossing the gap using the light.
Return to the courtyard and head towards the castle using Sophia's Prism ability, interacting with the flames ahead. Throw an Extinguis Pot at the line of fire blocking your path, and then light a stick and use it to reach the staircase on the other side. The second section of the courtyard awaits, with the left-hand path presenting the easiest way of getting across. You can kill an enemy with your Sling, and set the other on fire using a barrel. On the ground floor, use another Extinguis Pot to get rid of the line of fire on the ground. Then cross using a lit stick nearby.
To open the gate forward, you need to use the crank on the level above. A few more enemies will spawn once you lift the gate, but you can easily extinguish their torches to get them killed. Head downstairs and through the open gate.
Enter the chapel, then head downstairs. Interact with the chain at the back of the crypt for a cutscene, and then you can leave. Once you exit the chapel, though, Amicia will lose her temper once more and you'll have to fend off waves of enemies again. There are plenty of Bolts nearby, so make sure to take them and kill enemies. Once you've downed enough, a cutscene will end the chapter.
Did our Bloodline walkthrough for A Plague Tale: Requiem help? Browse our A Plague Tale: Requiem guide for more help and information, including all collectibles.


Comments 0
Wow, no comments yet... why not be the first?
Leave A Comment
Hold on there, you need to login to post a comment...