While the ability to upload PlayStation 4 video clips and screenshots directly to Facebook and Twitter is appreciated, sometimes you may want to get them on your computer for further editing or to upload to alternative sites such as YouTube. Fortunately, you can now copy any images and footage to a USB stick, making it really easy to access all of your favourite files in a raw state.
1. Collect some clips
There’s not much point in getting your USB stick ready if you’ve got nothing to put on it. As such, you’ll first need to play some games, and capture some great share moments. Remember, to save an image or video, simply push the share button during gameplay, and press square to save a screenshot and triangle to save a video clip.
Subscribe to Push Square on YouTube168k
2. Head to the Capture Gallery
Push the PlayStation button to get back to the main menu, and find the ‘Capture Gallery’ application. Select it and you’ll see a list of games that you’ve captured images or screenshots from. Select the name of the game with the images or video that you want to copy across, or alternatively select ‘All’ if you want to see everything.
3. Copy screenshots and video clips
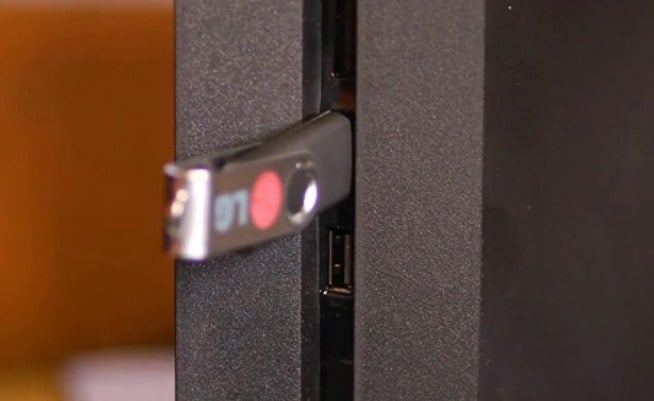
Again, your videos and images will be filtered. Select whether you’d like to see ‘Video Clips’, ‘Screenshots’, or both, and then push the Options button on the DualShock 4. In the side menu, select the ‘Copy to USB Storage’ button, and then select which files you’d like to move across. Ensure that your USB stick is plugged in to the console, and then click ‘Copy’. You’ll need to confirm some instructions by pressing ‘OK’, and then the files will be transferred to your USB stick. Depending on the size of the files, this will take a few minutes. Once connected to a computer, you’ll find your files in a folder named ‘PS4’ on your USB stick.


Comments 3
Thank you for this much needed guide. Very much appreciated!
See if you can have the hack instagram for online recovery of password that you need to log in with.
vinatrend - adidas Damen Sneaker jetzt versandkostenfrei bei . Schuhe online kaufen! goleroapp
Show Comments
Leave A Comment
Hold on there, you need to login to post a comment...