Chapter 10 - Watcher of the Vale is the tenth Main Chapter in Final Fantasy 7 Rebirth, sees the party touch down in Cosmo Canyon after a plane trip. As part of our Final Fantasy 7 Rebirth guide, we're going to provide a comprehensive Chapter 10 Walkthrough, which will detail everything you need to know about Watcher of the Vale.
Final Fantasy 7 Rebirth: Chapter 10 Walkthrough - Watcher of the Vale

Having landed in Cosmo Canyon, simply head for the objective marker as you explore the new, rocky area. You can stop off at Kamaria's Ranch along the way if you like, but the main objective is still further east and up the mountain. When you arrive, you'll be welcomed in and Red XIII will have quite the change in personality. You should go after him to find out this was his hometown and is choosing to stay to serve it. Red XIII leaves the party, but still follow him up the Observatory Elevator to be introduced to Bugenhagen.
He'll invite you into the Cosmo Observatory, where you can learn about a few different objects and things by interacting with them. There are three floors of interesting apparatus to learn more about, and then a huge telescope on the top floor. When you hear a rumble coming from a machine on the second floor, the story will progress. Bugenhagen will beckon you to follow him into a new part of the observatory, where you'll learn more about the game's galaxy and the home planet of Final Fantasy 7.
Tifa and Aerith will then be invited to a seminar, which you can tag along to. On your way there, be sure to check out the storeroom via the Discovery for loads of free items and materials. You'll join the seminar as Tifa speaks up, and then the class is over. Next up is a ceremony in Cosmo Canyon, which you'll need to take the Torch Elevator down to reach. When you get there, talk to your other party members first, and then the way will clear for Aerith and a cutscene. When prompted in the dialogue options, select "Encourage her."
After the ceremony, Bugenhagen explains he has something important to show the party, so follow him as he talks and... floats? He leads you to The Sealed Door where Red XIII must undergo a trial with the help of Cloud. The objective comes with a Level 36 recommendation, so make sure you're about there before heading in.
With the door now open, the elevator will take you down into the Cave of the Gi, with the Chamber of Deception at the bottom. Only two people can proceed, and it's decided Barret will accompany Red XIII, who you now control. Having defeated the first set of enemies, Red XIII unlocks the ability to scamper up specific, glowing surfaces, which you'll need to employ now to access a yellow chest and then progress along the opposite wall.
Continue through the chamber until you reach a door with lit-up statues on either side of it. You're told to cut the rope to open it, so turn around and climb up the rock in front of you to find a place to slice it.
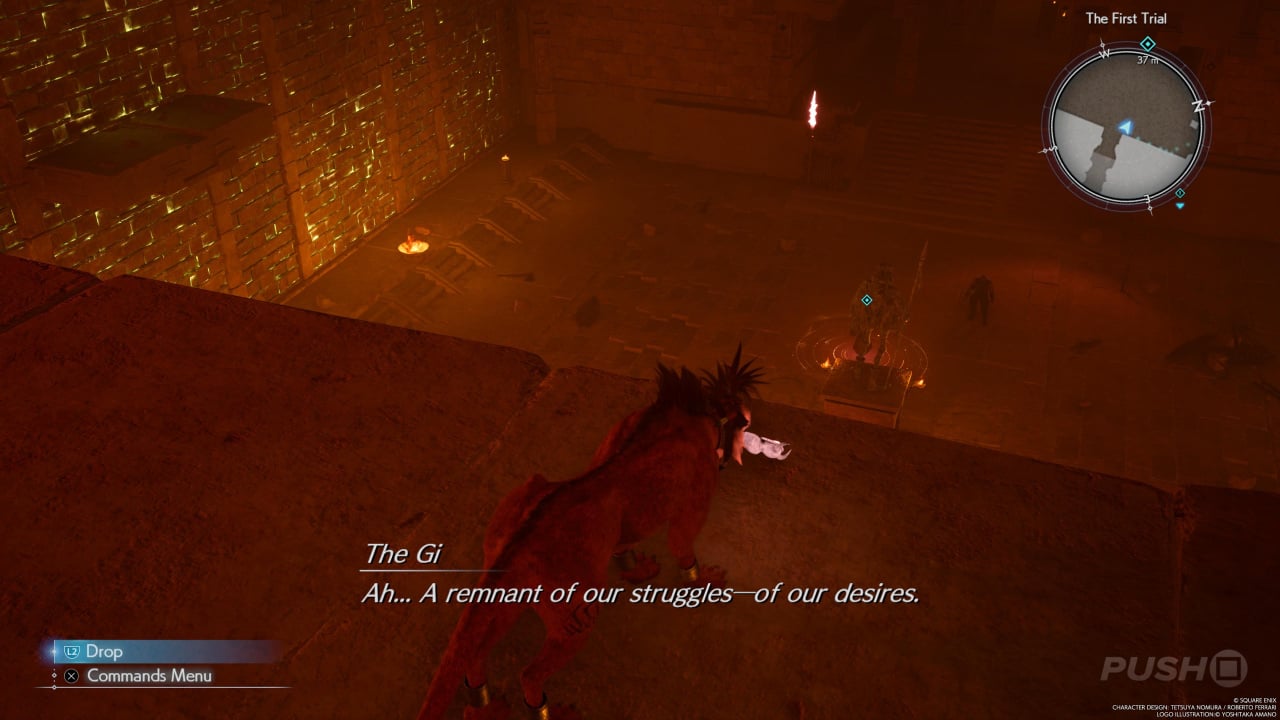
You'll find yourself next in the Chamber of Folly, with the only route being down. In the large room with the Gi statue in the middle, you need to grab the artifacts dotted around and bring them to Bugenhagen for inspection. The artifact you're looking for is up high on the back wall. To reach it, scamper up to the ledge in the back-left corner, and then do so again up to the platform above. You'll then need to fight the Gi Lancer.
Pick up the artifact and take it with you; it's needed for an altar in the main chamber. You'll also find an amber altar there just to the right, and then the last one is down the path to the right, where you need to scamper along the wall. You can find the last statue in the final room, but on the way back, you must fight another Gi Lancer on your own. Once it's defeated, return to the main chamber and place the statue in the last slot.
Proceed through the newly opened passage into the Chamber of Sacrifice, where you'll need to pass through a series of gates to complete the trial. The first gate requires you to pull the chain on the right all the way back, and the second needs its chain placed on the rod sticking out of the floor to the right. For the final gate, begin by pulling the chain in front of you to reveal a platform you can use to jump to. Don't cross anymore; turn right and scamper up the wall so you can pull a second chain at the top. You can now cross to the other side where the gate is, and there's a rod you can pick up and place in its holster. This allows you to open the third gate in the same way you did the second.
You can now take a breather at a Rest Stop and browse the Shops up ahead, then you'll head into a combat arena for the final showdown of the trial against Gi Nattak. To handle this boss, we suggest starting out as Barret and fully charging his ATB meter and then using Maximum Fury. This should pressure the boss eventually, allowing Red XIII to get his own hits in. Repeat this process until the boss spawns in some minions called Soul Flames. Deal with all of them and then use Barret mainly to repeat the process. What you need to look out for is this boss has a very short Doom timer, meaning once the number counting down hits zero, you'll die. It starts at 15,000, so be quick about it.
Having beaten it, you'll pass into the Wall of Honor, where a cutscene will reveal Red XIII is allowed to leave instead of guarding Cosmo Canyon. You'll then switch back to Cloud, who is beckoned to follow Gi Nattak into the cave and through to the Inlet of the Lost.
After the cutscene in the lake, you'll be playing as Zack, who's in talks with Biggs about the events of Final Fantasy 7 Remake. Follow him out of the house and to the noticeboard, then into the Center District and finally the Empty Lot. After the cutscene, return to Aerith's house via the objective marker. In the cutscene, the perspective will switch back to the other Cloud and Aerith with the rest of the party in the Village of the Gi.
Here, take the Ceremonial Staff from the purple chest and use the Rest Stop and Shops if needed, then continue along the path and fight the Gi Lancers you encounter. After a few fights, a lengthy cutscene with Gi Nattak gives you the task of getting the Black Materia for him. When you return to the real world, follow the escort to talk to Bugenhagen. A Robed Man has appeared at the Cosmo Canyon entrance, so go and investigate. To reach Nibelheim, fast travel back to the Cosmo Canyon Airstrip and interact with the telephone booth again. The ensuing flight brings Chapter 10 - Watcher of the Vale to a close.
Did you find our walkthrough of Chapter 10 - Watcher of the Vale helpful? For much more Final Fantasy 7 Rebirth information, including All Quests, check out our Final Fantasy 7 Rebirth guide through the link.


Comments 0
Wow, no comments yet... why not be the first?
Leave A Comment
Hold on there, you need to login to post a comment...