How do you find Dr. Bard in Resident Evil 3? How do you break the shower room wall in Resident Evil 3? We'll find out in part five of our Resident Evil 3 Walkthrough for PS4 along with How to Exit The Subway Tunnel.
How to Find Dr. Bard
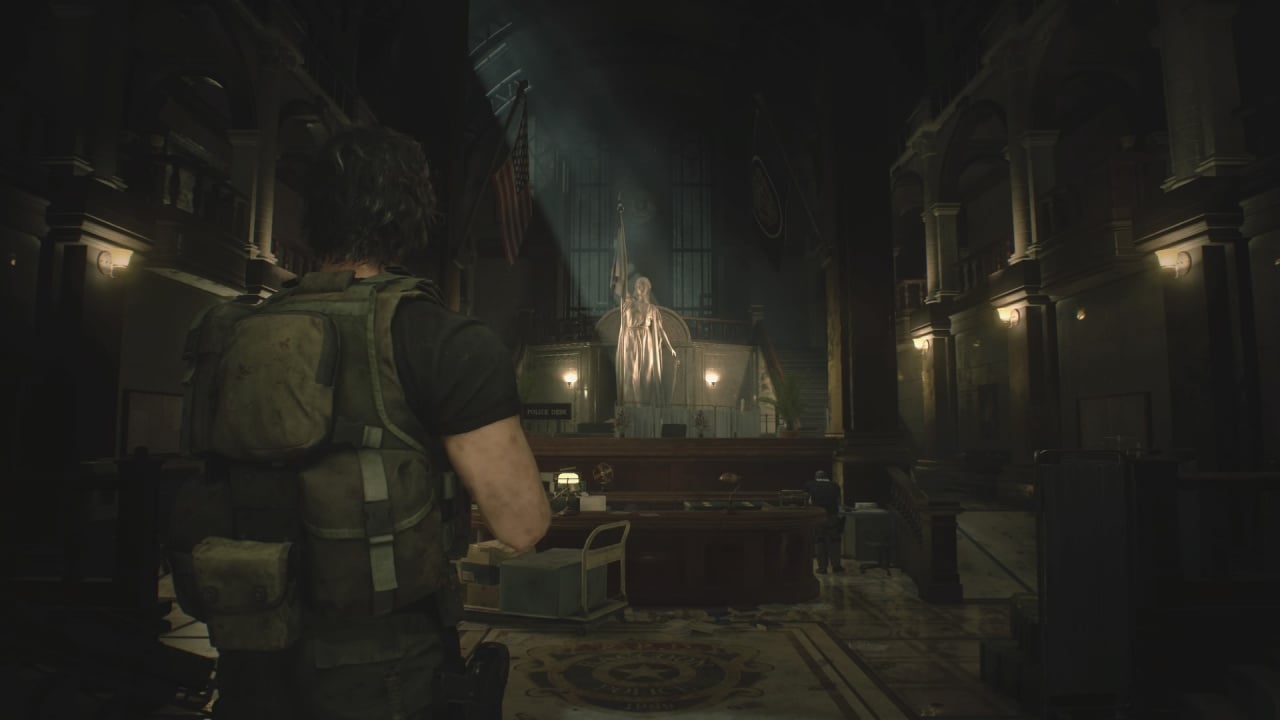
This is our first time playing as Carlos, who comes equipped with an Assault Rifle, a Handgun, and a Combat Knife. You'll begin the section in front of the Raccoon Police Department, so let's get inside.
Follow Tyrell through the graveyard and reach the front entrance where you'll encounter an unfortunate soul. It's Brad Vickers, but he's a zombie. Kill him if you wish to earn a Trophy and take the ID Card.
Enter the Raccoon Police Department and trigger the cutscene. You'll find a Green Herb (see also: All Herb Combinations and Their Effects) and Handgun Ammo in the main lobby area, so once those have been added to your inventory, head on through the open shutter on the left-hand side of the ground floor.
In the next room, you can use the ID Card on the magnetic box to get some Assault Rifle Ammo before heading through to the corridor.
Run down the linear hallway, taking down zombies as you go, and you'll eventually end up in the Operations Room. A Flash Grenade can be found on the table while the next room contains more Assault Rifle Ammo.
The next area contains eight zombies so make sure you're prepared — the Assault Rifle should do the trick. Once they're all dead, enter the West Office.
In here is another magnetic case to use the ID Card on, which contains a Scope for the Assault Rifle (see also: All Gun Upgrade Locations), and Handgun Ammo and a Red Herb.
In the small office off to the side is yet more Handgun Ammo and a safe. The combination to unlock it is Left 9, Right 15, Left 7. A Hip Pouch will be your reward (see also: All Hip Pouch Locations).
Return to the previously busy hallway and head towards the stairs. A save room is to your right before you scale the building, however, containing Assault Rifle Ammo and a Red Herb.
Save the game here if you feel the need to.
Go upstairs next to the second floor and enter the Shower Room. A Green Herb is to your right as you enter, as is a padlock which requires a combination.
The solution is CAP, with the locker containing a Flash Grenade (see also: All Safe Codes and Locker Combinations).
Enter the shower area, grabbing the Electronic Gadget on the wall, and you'll quickly realise that you need to blow it up to progress.
Break the Shower Room Wall
Leave the room and head to the third floor. Up here, you'll find a Key which is about to come in handy as well as Assault Rifle Ammo.
Next to those bullets is another padlock upon a locker, with the combination you need being DCM. More Assault Rifle Ammo can be found inside.
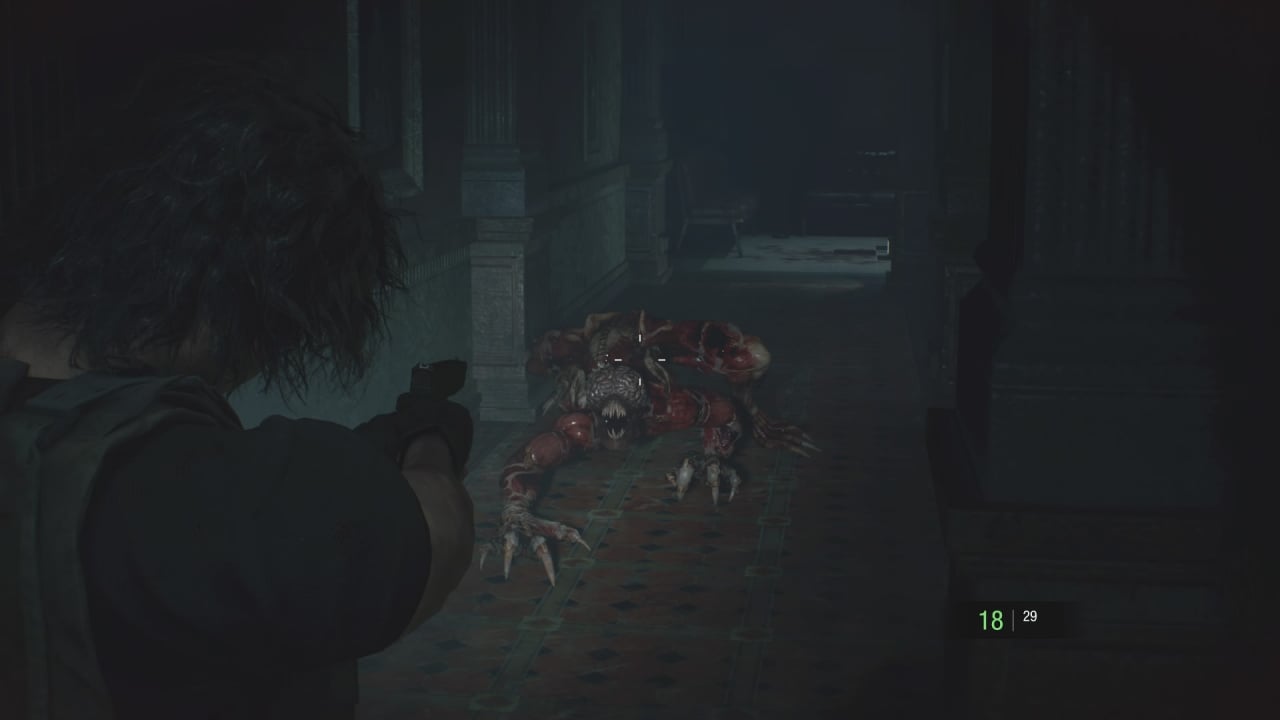
Take the Key back down to the ground floor and use it to unlock the door to the Safety Deposit Room. On your way there, however, be careful of the Licker. A few rounds from your Assault Rifle should put it to bed.
Once you reach the Safety Deposit Room, you'll need to use the terminal to input numbers to unlock the compartments. 104, 106, and 109 are the numbers you need, giving you access to a Battery, Assault Rifle Ammo, and a Frag Grenade.
Combine the Battery with the Detonator and you'll have the bomb you need to blow a hole in the wall on the second floor. Head back there and place the Detonator in the required spot.
Once the explosion takes place, a lot of zombies are going to be waiting for you on the opposite side. Make use of the Frag Grenade you just acquired to take them out quickly.
Head through the hole in the wall, grab the Assault Rifle Ammo and the First Aid Spray and even more Assault Rifle Ammo from the lockers before proceeding through the door ahead. Another Licker will be on the other side to greet you, so deal with that however you see fit.
You've finally made it to the S.T.A.R.S. Office, so enter.
After watching the cutscene, you can explore the S.T.A.R.S. Office for supplies. There's a Reb Herb behind you, a First Aid Spray in the medical pack on the wall, a Flash Grenade on a desk and Assault Rifle Ammo in the back from a magnetic box. Head towards the door to trigger the next cutscene.
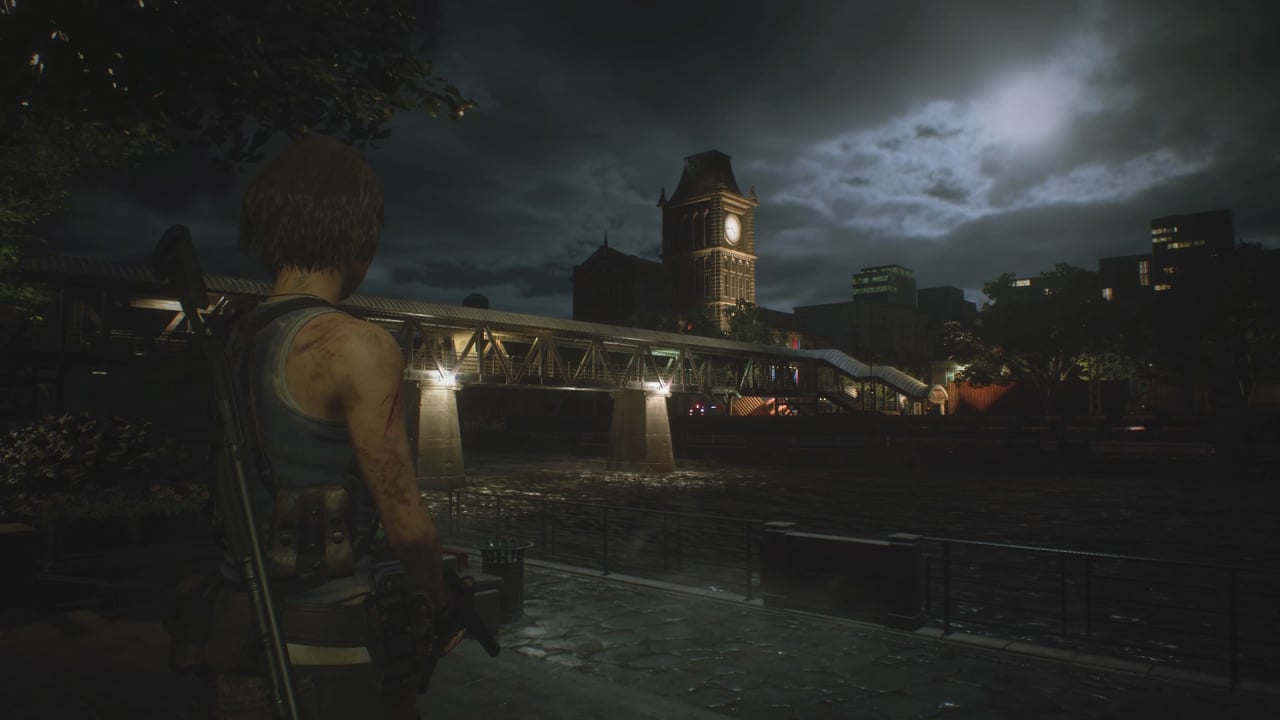
Find a Way Above Ground
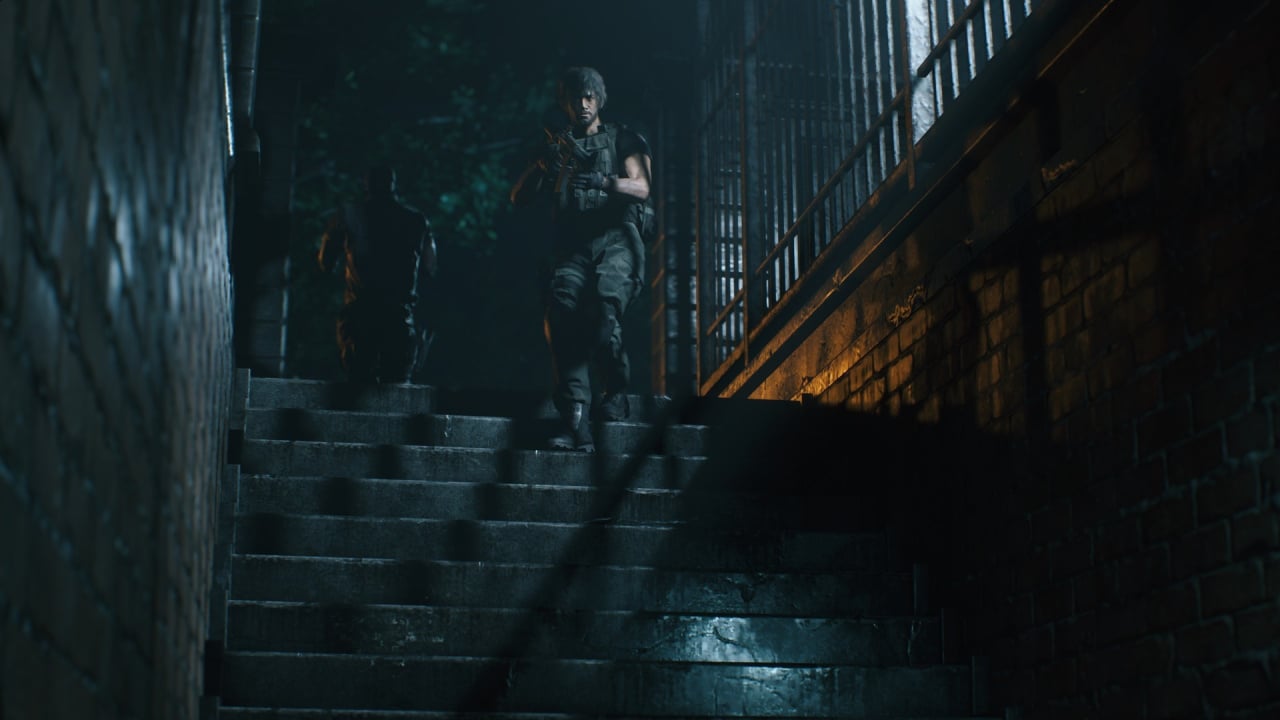
We now find ourselves back in the shoes of Jill Valentine following a time skip. Head towards the exit of the Subway Tunnel through the door.
You'll come across a save room containing a First Aid Spray and Mine Rounds for the Grenade Launcher, so make sure to save here if you haven't done so in a while.
When you're ready to leave, head through the door and follow the tunnel around, making sure to kill the four zombies which surprise you ahead. Another three zombies will try to ambush you in the room up the stairs, so deal with them and proceed up the ladder.
Escape Nemesis
A Green Herb, a Red Herb, and Handgun Ammo can be found in the next area, which you'll need to pass through to cross over the bridge. After the next set of cutscenes, it's time to fight Nemesis' second form.
That brings us to the end of part five of our Resident Evil 3 Walkthrough, to continue from here you need part six: Defeat Nemesis (Second Encounter)


Comments 0
Wow, no comments yet... why not be the first?
Leave A Comment
Hold on there, you need to login to post a comment...