Chapter 9 - The Planet Stirs is the ninth Main Chapter in Final Fantasy 7 Rebirth, and sees Cloud and the team put distance between themselves and the Corel Region. As part of our Final Fantasy 7 Rebirth guide, we're going to provide a comprehensive Chapter 9 Walkthrough, which will detail everything you need to know about The Planet Stirs.
Final Fantasy 7 Rebirth: Chapter 9 Walkthrough - The Planet Stirs

Following the Interlude involving Zack, you'll be back in control of Cloud as he and the party use the big buggy to escape the Corel Region. You'll be automatically guided along a path until Yuffie faints in a cutscene, and the team decides to check out another Mako reactor to the south. At this point, you can return to The Gold Saucer if you like for Side Quests and more minigames, or press on with the main story over 1,000 metres away.
Work your way through the mountain range to the south, and you'll eventually spot a tropical jungle on the other side of the water. Cross over using the buggy and you'll make it to the Gongaga Region. You'll now need to ditch the buggy and continue on foot, working your way through the jungle to reach the Gongaga village itself.
Subscribe to Push Square on YouTube168k
Having been welcomed in, follow Cissnei up the hill to the monument, then you'll be offered her home for a place to rest. You can also explore the village and meet a few new characters, play the Piano and Queen's Blood, and hit the Shops. You'll also need to talk to all your party members; Yuffie can be found inside Cissnei's House, Barret is admiring the garden patch outside, Tifa is outside the building with the Piano inside, and Aerith is spotted heading inside the house in the bottom-right. Follow in after her to meet Zack's parents, then talk to Aerith outside. When you're ready to move on, head to the Rest Stop in Cissnei's House. You can also pick up the Bird of Prey from the purple chest inside.
A few hours later, Cloud is woken up by a roar coming from the reactor, forcing the party into action and to investigate. Follow Yuffie to meet up with the others at the monument, where it's decided the girls will stay behind while Cloud, Barret, Red XIII, and Cait Sith head for the reactor. Follow the path out of Gongaga to the objective marker, completing any World Intel and downing enemies for XP as you go. You'll need to swim with the current for the last few 100 metres to reach the reactor.
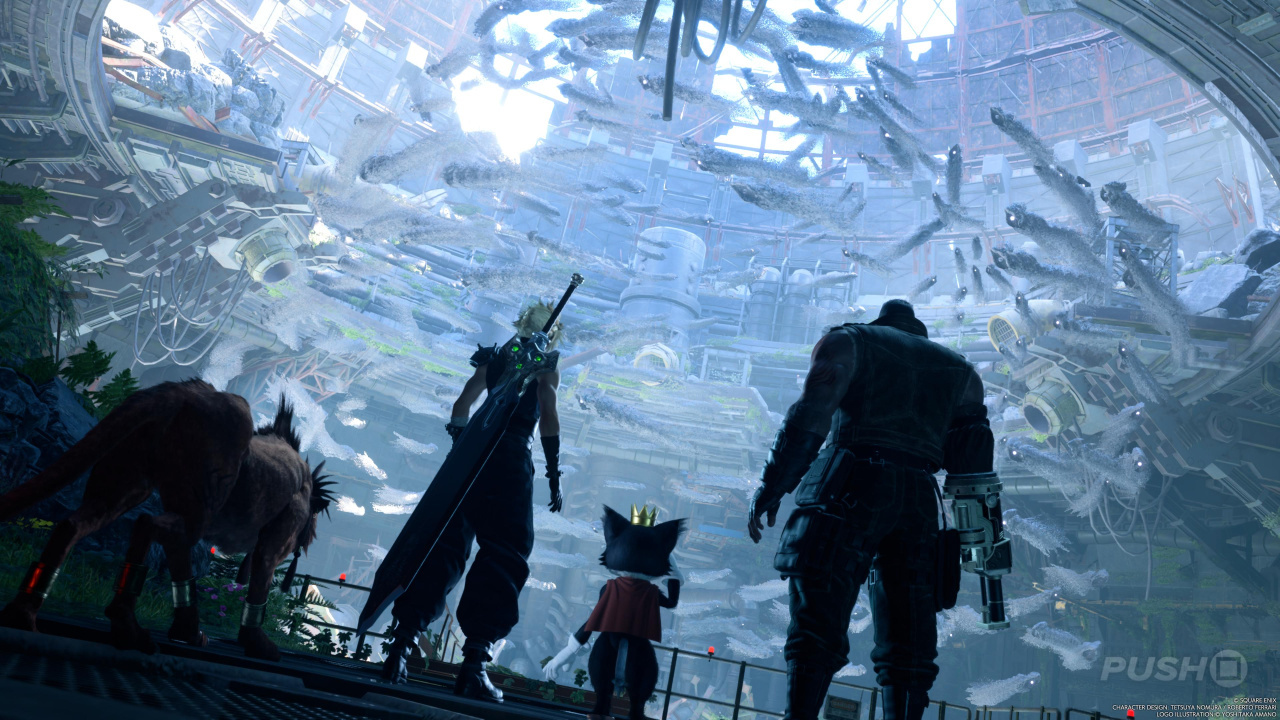
Once you reach the Gongaga Reactor, the visions will appear to form a vision of Sephiroth, so Cloud decides to follow them. Next to the Rest Stop, you can head down into the facility. After the first enemy encounter, head into the room behind them rather than squeezing through the crack to get the Crystal Sword from a purple chest. Then go back and squeeze through the doors and to press further into the building; it's a linear path so you can't get lost. To power the gate, pick the plug up off the floor and place it into the console.
When you make it to Coolant Control, beat the two enemies, then climb up onto the broken bridge for another glimpse of Sephiroth. Drop down into the water, then swim left to spot a ladder you can climb. Up here, you'll find another terminal in need of power. To get it working, move the green crate so the wire isn't trapped, then plug it into the red console. You can now adjust the water level back at the first computer. Return to the pool of water and you can drop down and climb up onto the other side using a newly revealed ledge.
At the end of the next hallway will be a Rest Stop and Shops, then take a left to head into the Reactor Core. During the cutscene, Shinra will show up with some new monsters to defeat, including a more difficult boss encounter. Having beaten it, Scarlet will appear in a huge mech and deliver a blast to the party, at which point the perspective switches back to the girls still in Gongaga. Having felt the shakes of the blast, they decide to make for the reactor also to try and help.
You'll take Chocobos to the reactor, which speeds the journey up significantly as you can use the mushroom bounce pads. Defeat the troopers you find at the entrance, then work your way through the facility on the same path you took the first time, except using the Grappling Gun. When you reach the room with no roof, you'll once again need to attach the cable to the console, but it's not quite long enough at first. Grapple up to the rafters and move the machine the wire is attached to forwards. It'll then be close enough to be attached.
Defeat the next group of enemies outside, then use the Grappling Gun to traverse from platforms to combat arenas; it's a linear path through so simply search the area if you can't find the grapple point yet. You'll eventually make it to a Rest Stop and Shops, so make use of them and then grapple up to the next path, where a helicopter will start shooting at you. A zipline will then see you reach the Reactor Core. You now need to fight Scarlet in the Crimson Mare Mk. II, which also allows you to target its sabers on the right and left hands. These are weak to Lightning damage, and we suggest focusing on them first before moving on to the main body.
Having destroyed them both, Scarlet will soon swap the sabers out for Makocannons. Continue to destroy whatever she attaches to the mech's arms, then work on the body to stagger it and then eventually take it down for good. After the fight, you'll just be controlling Tifa and will need to use the Grappling Gun to reach Scarlet as she operates the crane.
After the cutscene in which Cloud turns on Tifa through the influence of Sephiroth, swim over to Barret, only for The Weapon to seemingly swallow her. In the underwater sections that follow, you'll have minimal control, simply following button prompts and watching what unfolds. When you regain control as Cloud, approach The Weapon and Tifa will be brought back.
The action picks back up in Cissnei's House, where it's suggested to head to Cosmo Canyon next. When you get your full party back, sort out their Materia and then leave Gongaga by heading to the Gongaga Airstrip. When you get there, interact with the telephone booth to learn you've got to send up a smoke signal to call the pilot. Pay the 1,000 Gil fee to the pilot and then everyone can board to end Chapter 9.
Did you find our walkthrough of Chapter 9 - The Planet Stirs helpful? For much more Final Fantasy 7 Rebirth information, including All Quests, check out our Final Fantasy 7 Rebirth guide through the link.


Comments 0
Wow, no comments yet... why not be the first?
Leave A Comment
Hold on there, you need to login to post a comment...