When you're ready to progress, leave Costa del Sol via the Chocobo ranch in the south and then make your way west, crossing the lovely ocean beach scenery. Upon reaching Mt. Corel , the cable cars are out of action so the team will need to walk up. There's only one, linear path up so simply enjoy the banter of Yuffie and grab all the resources you can on the way.
Some of the team decides to go on ahead, leaving Cloud , Aerith , and Red XIII behind. When you're at the Rest Stop , grab the Wizard's Rod from the purple chest on the left, and buy any items you might need for the road ahead.
As well as enemies, the trek up the mountain is ripe with resources, so we recommend veering off the beaten path as you make your way up so you can get stocked on materials for the Item Transmuter . You'll also spot graffiti on some of the cliffs left by Yuffie to point you in the right direction. You'll eventually reach a dead end, but as the painting from Yuffie points out, you need to climb up when you spot the yellow ledges.
Eventually, after a helicopter is pointed out to you, a Rest Stop and Shops will be on your right. Stock up and rest because you've got a boss fight ahead of you, after a quick encounter with Elena and Rude . The Custom Valkyrie is weak to Fire and Wind , so once you've gotten ATB meters charged, focus on those Spells and your damage dealing Abilities . Since it hovers above the ground, it's not the easiest boss to get up close to hit, so you'll need to pick the right moment to go in for attacks. During its Cooling Protocol , the boss will be completely open to attacks, so use up your full ATB gauge during that phase.
For increasing the stagger meter, Red XIII works best with his basic attacks. At roughly half health, the boss deploys a giant laser cannon, which will target and fire at whoever you're controlling. In this instance, try and get behind it as quickly as possible to avoid any damage. Continue filling the stagger meter and you should have the boss down and out fairly quickly.
After the cutscene, the game switches perspectives to Zack , whom we haven't seen since the very start of the game. He hears a knock at the door, so answer it to discover Aerith's mum is there. Go upstairs with her to check on both Aerith and Cloud . That's all you're getting though, because as they take the two protagonists back home, the action cuts back to Cloud and Aerith well... somewhere else and conscious.
When you regain control, open the gate by holding the lever down and carry on up to Mt. Nibel , eventually encountering the rest of the party once more. Now you have access to all the characters again, rejig your party in accordance with how it was before, then continue up to Mt. Nibel . You'll soon reach the Corel Mako Reactor , with Yuffie and then Barret leading the way into the facility.
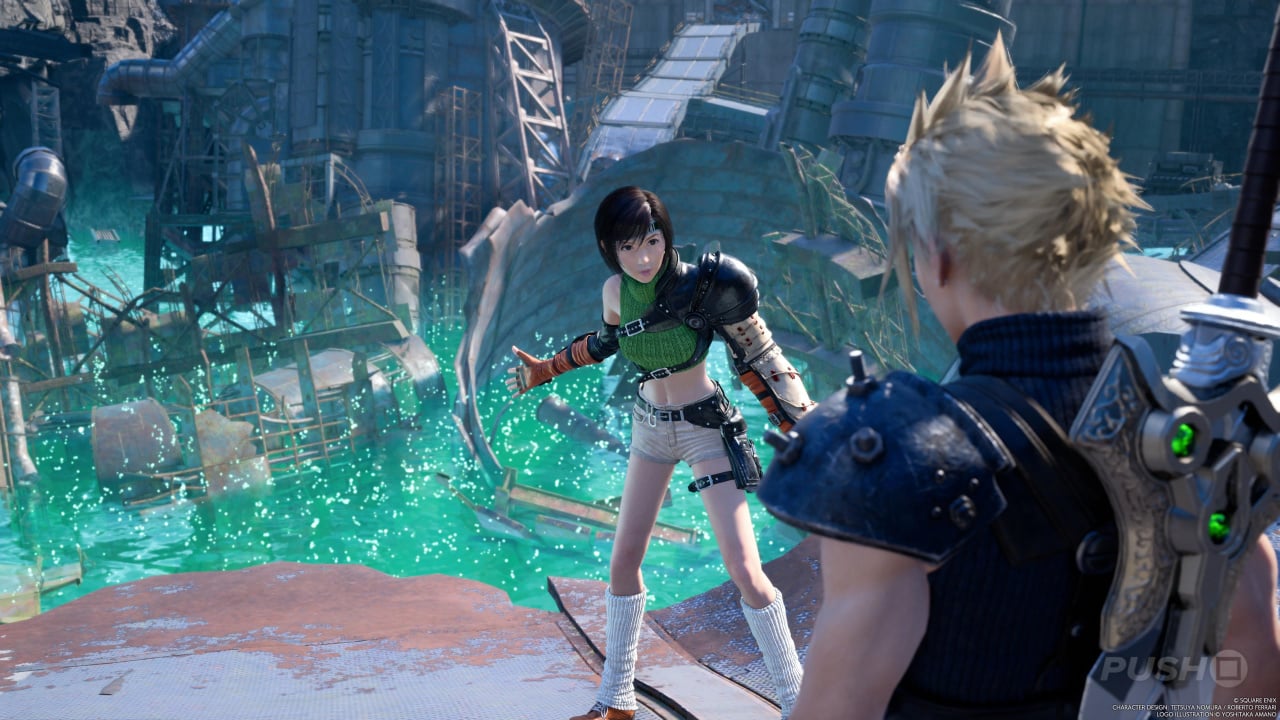
A long elevator ride will take you down to the Coal Mines , where a bridge is blocking your and the Robed Men's path. Barret points out the control room, which becomes your next main objective after the troubling cutscene with Cloud . You'll play as Yuffie now, who can throw her Shuriken at boxes and objects in the environment. You'll need to do this to break the wire next to the locked door to open it, then you can head inside into the Preparation Plant .
You now need to power up the conveyor. Take the Grappling Hook from the table and use it to cross the gap to your left, then you can use the lever. Take the Twin Viper from the purple chest, then swing back across and get on the conveyor.
On the next floor up, you'll need to restore power to an elevator. You can first climb the wooden structure outside for some extra items, then go back in and to the left of the elevator is a place to use the Grappling Hook . Swing across to the island, then turn around and throw your Shuriken at the next pylon along to make it drop and give you another point to grapple to. When you reach the platform with the yellow chest, turn around again to find some yellow ledges you can grapple to and use to climb up. At the top, defeat the enemy and then use the console to activate the elevator, allowing Barret and Tifa to join you.
When you go up the staircase and back out into the open, your objective will be up on your left, but before you go there, climb the yellow ledges ahead of you and throw the Shuriken at the wire holding the bucket opposite you. Doing so reveals an absurd amount of supply boxes you'll want to destroy for items. Having got them all, you can press on using the zipline.
On the other side, go through the cave to find a Rest Stop and Shops . Once rested and stocked, defeat the Cockatrice up ahead and then use the yellow ledges to reach the platform above. Use the Shuriken on the wire opposite to drop a ladder Yuffie can access, with a series of grappling hook points afterwards allowing her to get to a chest with the Illusionist's Armband inside. To actually progress, grab onto the pole in the centre of the area and take it down. Beyond the two Cockatrices will be an outside area containing a purple chest with the Barrage Blaster inside, and then to the left back inside is a place for Yuffie to swing across and activate the next conveyor with the pull of a lever. You can get back across by just jumping in the water below. Now take the conveyor all the way to the top, use the Rest Stop , then switch onto the other conveyor to continue the upwards trend.
At the top, use the Shuriken on the control panel above to lower a pylon Yuffie can grapple to. Follow the path around until you need to drop down to another wooden platform, where you can throw your Shuriken at a second control panel. This will activate a pylon that'll transport you through a bit of a box assault course, and then onto a turning circle. You need to use your momentum to push yourself forward and kick the switch on, and then another pylon becomes operational and saves you. Finally, defeat the Bomb , use the Rest Stop , and then interact with the console. This brings Tifa and Barret up to your level.
Go through the little red door in the corner to get back outside, and then you'll be confronted by a huge bird and a nest of baby Chocobos . Tifa wants to help, so of course you've got to beat the Gigatrice . If you cast Fire on it, the boss will immediately be pressured and fall to the ground, allowing you to get some easy hits in with Tifa and stagger it fully. At roughly half health, it'll start spawning cyclones around the arena, which you'll obviously want to avoid. The Limit Break that Tifa has is also enough to pressure the boss and bring it to the ground.
Once it's been defeated, interact with the console the nest is on top of to finally lower the bridge you came all this way for. The perspective will now switch back to Cloud , Aerith , and Red XIII , who must decide a path for the mine cart that the rest of the team will use. Make sure to sort out your Materia slots and then continue on along the track.
As you run down it, you'll need to decide what route the mine cart takes using the levers on the side. There'll be preferred routes for Barret and Yuffie , but it doesn't really matter which one you choose. When you reach the end, use the terminal to call Yuffie and the perspective will switch back to the other half of the team so you can come down on the mine cart. During the journey down, you can shoot Barret's gun and throw the Shuriken that Yuffie uses to destroy boxes containing items. At the end of the track, the full party will now be reunited.
Sort out your Materia slots again and then cross the bridge to find North Corel , a settlement Barret used to be a part of. Have a look around the town, working your way up the mountain as the villagers take potshots at Barret . Eventually, Tifa will point out a building she wants to go inside to see someone, so follow her to meet Doctor Sheiran (and a hallucination of Sephiroth ).
Afterwards, you can continue up the mountain and reach the Gold Saucer , or stick around for a little while to complete a Side Quest Of Robed Men and Ransoms Corel Ropeway . You'll then receive a cutscene explaining why Barret was treated the way he was back in town, and Chapter 7 comes to a close. That was a long one, wasn't it?
Did you find our walkthrough of Chapter 7 - Those Left Behind helpful? For much more Final Fantasy 7 Rebirth information, including All Quests Final Fantasy 7 Rebirth guide
Up Next: Chapter 8 - All That Glitters