Chapter 6 - Fool's Paradise is the sixth Main Chapter in Final Fantasy 7 Rebirth, and sees the team reach Costa Del Sol after the nightmare crossing aboard Shinra-8 in Chapter 5 - Blood in the Water. As part of our Final Fantasy 7 Rebirth guide, we're going to provide a comprehensive Chapter 6 Walkthrough, which will detail everything you need to know about Fool's Paradise.
Final Fantasy 7 Rebirth: Chapter 6 Walkthrough - Fool's Paradise
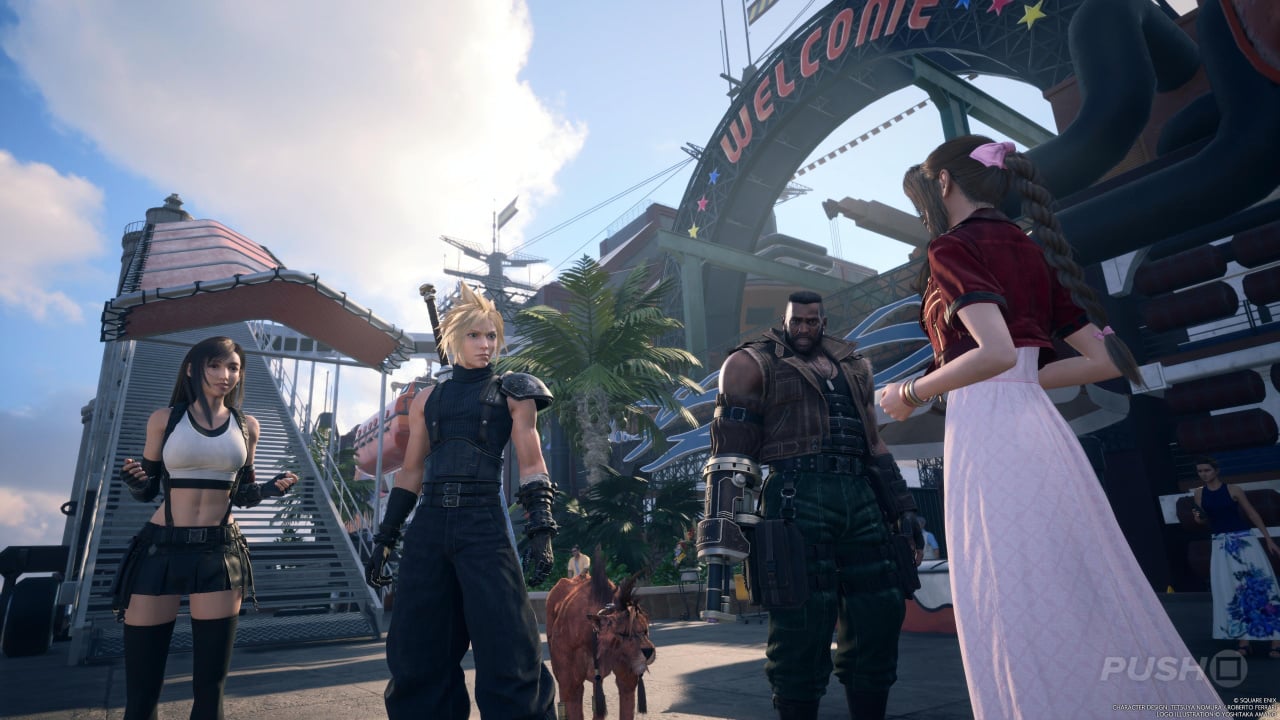
Back on dry land after the Shinra-8 crossing, Cloud and the team find themselves in Costa Del Sol. It's suggested they first find a place to stay, so follow the objective marker in search of a hotel. When you get down onto the main street, be sure to interact with two Discoveries (purple markers) and then grab a Wheelie so you can start working towards some rewards. You can also ask about hotels in the area, though it sounds like getting a room won't prove easy.
Begin at The Royal Coast, where it's revealed the hotel is completely booked up for the evening. Continue on and you'll bump into Yuffie at an ice cream truck. When speaking to her, select "Yeah. Obviously." when prompted. You can now try and get a room at the Costa Del Sol Resort, but you won't have any luck there either. As you exit, Johnny from Final Fantasy 7 Remake turns up and offers you rooms at his own hotel. Follow him to discover Johnny's Seaside Inn isn't exactly the most luxurious place to spend your holiday, but it'll have to do.
Subscribe to Push Square on YouTube168k
Head into your room and store your weapons, then return to town to be ambushed by two lovely ladies who will explain you need to have beachwear in order to go onto the beach. In order to obtain it, you have to exchange Companion Cards at the Beachware Exchange. Begin by following the northern objective marker to find the Pirate's Rampage minigame, which tasks you with shooting targets for a high score. You need to get at least 10,000 points to earn the Companion Card, though there are prizes for doing even better.
Having achieved that, head for the other objective marker and play Card Carnival. You'll bump into Regina here, who will join you for the team-focused twist on Queen's Blood. Complete three challenges to earn the Companion Card.
In the first challenge, place the Fleetwing on the bottom-right square, then Zu in the top-left. Finally, you can place the Quetzalcoatl in the very centre to complete the challenge.
In the second challenge, place the Fat Chocobo in the bottom-left square, then put the Posh Chocobo in the bottom-right, and finally slot the Chocobo & Moogle card in the middle of them. With the score bonus added on, you'll beat the opponent by a single point.
For the final challenge, start by placing Moogle Trio on the middle-left square. Next, put Moogle Mage in the bottom-right, then Fleetwing to the right of Moogle Trio. Finally, Moogle Bard goes in the top-left corner and Grasslands Wolf in the bottom-left.
Now you have both Companion Cards, return to the Beachware Exchange store and grab the Wild Surf shorts and Ocean Chocobo shirt. Use a Changing Booth to get changed and head down to the beach. A cutscene will reveal how the hooded figures are just creepily hanging around on the shore, while Aerith is once again talking to a mystery person. You'll take control of Aerith afterwards, knocking on Tifa's door and having to complete the same process as Cloud to gain Companion Cards, except with different minigames.
You can play the piano for one inside The Royal Coast hotel, photograph the four Del Sol Cactuars hidden around town, return Wheelies to their designated parking spots, or play the game's take on Rocket League in Run Wild. Once you have a Companion Card for both Aerith and Tifa, trade them for beachwear and equip the items of clothing to be allowed to join Cloud and Barret on the beach. After the cutscene, Cloud will take back control as Hojo appears on the beach and you'll need to follow him to see what he's up to.
He'll deploy monsters onto the beach, and as you regain control of Cloud, you must pick which teammates to help. This doesn't affect the story, but it will determine which party members fight alongside you against the Grasptropod. When you come to battle it, the machine will start to capture your party members. Eventually, Cloud will be the last one captured, but this is supposed to happen as Yuffie saves you.
You'll now be fighting on your own, so play things safe and focus on defensive Abilities rather than an all-out attack. Allow your Summon and Limit Break meters to charge fully, and rely on them to get you through the rest of the encounter. It's not too difficult — especially if you're well stocked on Potions — but there's enough of a danger here to where you could easily wipe.
A while later, the action picks up again as Cloud is given some downtime on the beach and the chance to talk to his friends. When talking to Tifa, select "Wanna go back?" to deepen your relationship with her. During your chat with Barret, select "This is on Hojo." Next, Red XIII will react well to "Don't sweat it." Finally, choose "Everybody's got someone they hate" when talking to Aerith. When you want to leave the beach, go back to the steps to head into town and then back to Johnny's Seaside Inn.
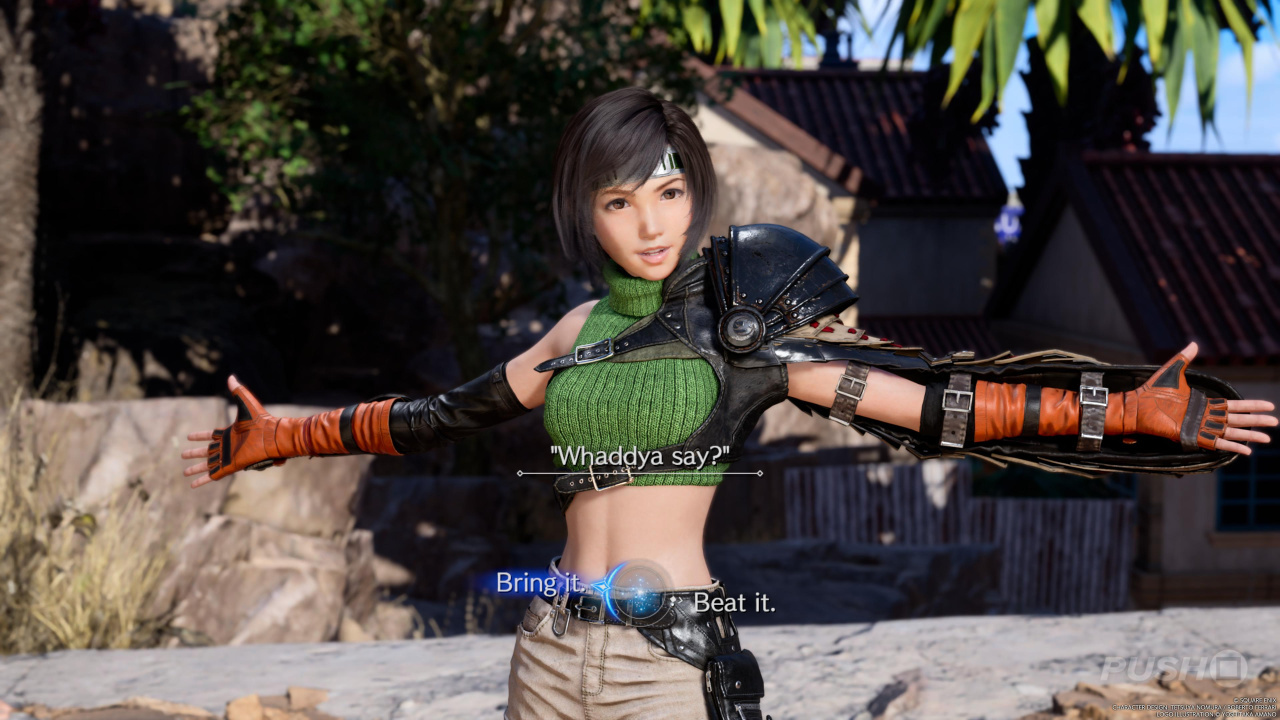
The next day, the team decides to head for Mt. Corel in pursuit of the hooded figures, only for Yuffie to ambush them as they leave Johnny's Seaside Inn. She challenges you to a duel, which you should accept. She'll chicken out, but you should still let her join the party in the next dialogue choice. This completes Chapter 6.
Did you find our walkthrough of Chapter 6 - Fool's Paradise helpful? For much more Final Fantasy 7 Rebirth information, including All Quests, check out our Final Fantasy 7 Rebirth guide through the link.


Comments 1
I had a quest to find Johnny here but it disappeared after I got all the companion tickets. Not sure what that's all about.
Show Comments
Leave A Comment
Hold on there, you need to login to post a comment...