Chapter 3 - Deeper into Darkness is the third Main Chapter in Final Fantasy 7 Rebirth, and immediately follows Chapter 2 - A New Journey Begins as the Midgardsormr is defeated. As part of our Final Fantasy 7 Rebirth guide, we're going to provide a comprehensive Chapter 3 Walkthrough, which will detail everything you need to know about Deeper into Darkness.
Final Fantasy 7 Rebirth: Chapter 3 Walkthrough - Deeper into Darkness
Chapter 3 begins in the middle of the cutscene that concludes Chapter 2, with you regaining control of Cloud in the Old Republic Tunnels as he tracks down the hooded figures spotted earlier. Follow the linear path through the cave, and use the Rest Stop, Shop, and Folios machine if you need to stock up or improve your party members. Aerith will soon spot the hooded figures up ahead, only for one of them to slip in a rockslide and presumably fall to their death. That doesn't stop Barret from wanting to go after them to try and help, though. He leaves the party along with Red XIII.
Continue on through the cave, defeating the enemies as you go and picking up any items like the AP Up Materia and Sylph Gloves. This whole area is completely linear, so you shouldn't have any trouble finding your way. Eventually, you'll reach a mine cart blocking your path. You'll need to pull it backwards rather than push it forwards to progress. When you happen upon a larger area within the cave — and the party points out a possible exit — take the bridge to the left and push the mine cart in the back out so it's beneath the broken ladder. This allows you to climb up.
Subscribe to Push Square on YouTube168k
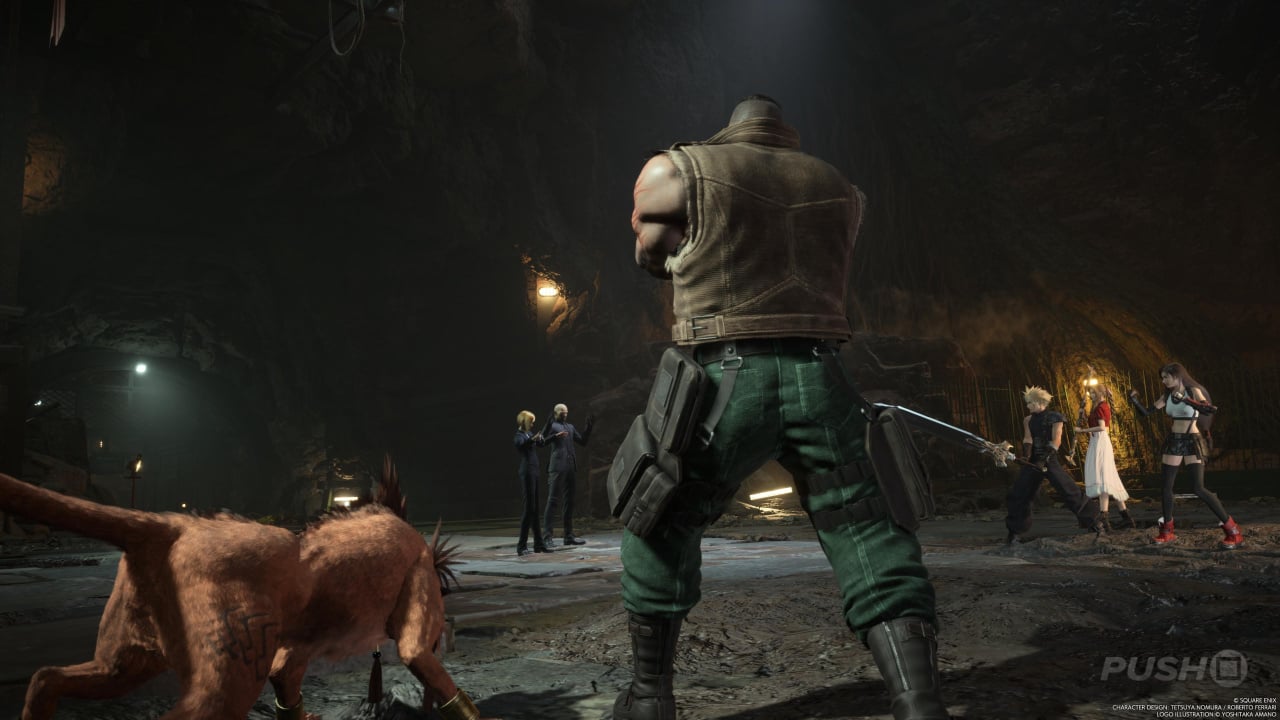
On the other side of the bridge, there's a hidden ladder to the right that allows you access to the floor below, containing enemies to face and more resources. The main path through Mythril Quarry is back where you just came and to the left. Following the path ahead beyond the Orges and up the ladder reveals another Rest Stop and Shops to browse, then you can press on further. In the next area, you'll happen upon two people talking, and you'll need to eavesdrop on them. Tifa will give your position away, and then you'll need to fight the returning Rude alongside newcomer Elena. She will be the easiest to take down first (with a weakness to Wind), then you can focus on Rude. We recommend saving your Summons and Limit Breaks for him, as he's a tougher customer than Elena — especially when he activates his shield.
Having beaten them both, Tseng shows up and sends Barret and Red XIII down into the cave's depths below. You'll now be playing as Barret, who can shoot the crystals on the sides of the environment. Grab the Renegade's Collar from the purple chest to your left, then press on to try and reunite with Cloud, Aerith, and Tifa. When you come to the more open area, a large tree will be pointed out in the back, which can be climbed and becomes your next target. You can reach it either by climbing the sloped rocks to your left, or first going into the pool of water to the right and grabbing the MP Up Materia and then climbing up.
When you reach the top, shoot the boulders to clear a path, and on the right will be some ledges you can use to climb up some more. They'll lead you up to the Excavation Site, which is your ticket to more resources and enemies. Clear the place of items and XP, then go to the back of the area where you'll find a ledge you can't quite reach. Turn around and use the lever so the tracks change direction; now you can pull the mine cart up and use it to reach the ledge.
Follow the path through, then defeat the Ogre and destroy the boulder blocking your route through and you'll spot the rest of the party up ahead across a gap. Cloud, Aerith, and Tifa need your help restoring the bridge, so take a left and shoot the two ladders down as Barret. Begin up the left-hand ladder, where you'll find enemies, a Rest Stop, Shops, and a lever and a mine cart. With the enemies defeated, first, pull the lever, then push the mine cart out onto the bridge. You'll need to destroy a boulder first, then push the mine cart all the way until it comes to a dead end with resources surrounding it.
Use the lever to switch the tracks, then you can push the mine cart down the slope to dislodge the shipping container. This will return the bridge for your teammates, who will cross and enter the upper level of the room you first found the mine cart in. Go there and they'll reveal a new path for you with a Lightning Materia on the other side.
Follow the path down into a new area containing a Mythril Golem, which is sort of your next big boss fight. As well as a main health bar, it also has individual HP gauges for its head, spine, and arms. Destroying these is only a temporary act, but doing so can help you in the short term. The boss is weak to Lightning, so in combination with your Abilities, try and stagger it as quickly as possible, and then unleash Limit Breaks and Summons if you have them charged. As long as you're packing a few Potions and Phoenix Downs, the Mythril Golem shouldn't pose too great a threat.
Once the fight is over, you can take a new path to reunite with your teammates. After the cutscene, you'll switch back to playing as Cloud and return to tailing the hooded figures.
After defeating a few groups of enemies, you'll come out into a clearing outside, where a line of the cloaked men awaits and Chapter 3 concludes as the team catches a glimpse of Junon.

Did you find our walkthrough of Chapter 3 - Deeper into Darkness helpful? For much more Final Fantasy 7 Rebirth information, including All Quests, check out our Final Fantasy 7 Rebirth guide through the link.


Comments 0
Wow, no comments yet... why not be the first?
Leave A Comment
Hold on there, you need to login to post a comment...