Chapter 11 - The Long Shadow of Shinra is the eleventh Main Chapter in Final Fantasy 7 Rebirth, and picks up as the party arrives into Nibelheim via air. As part of our Final Fantasy 7 Rebirth guide, we're going to provide a comprehensive Chapter 11 Walkthrough, which will detail everything you need to know about The Long Shadow of Shinra.
Final Fantasy 7 Rebirth: Chapter 11 Walkthrough - The Long Shadow of Shinra
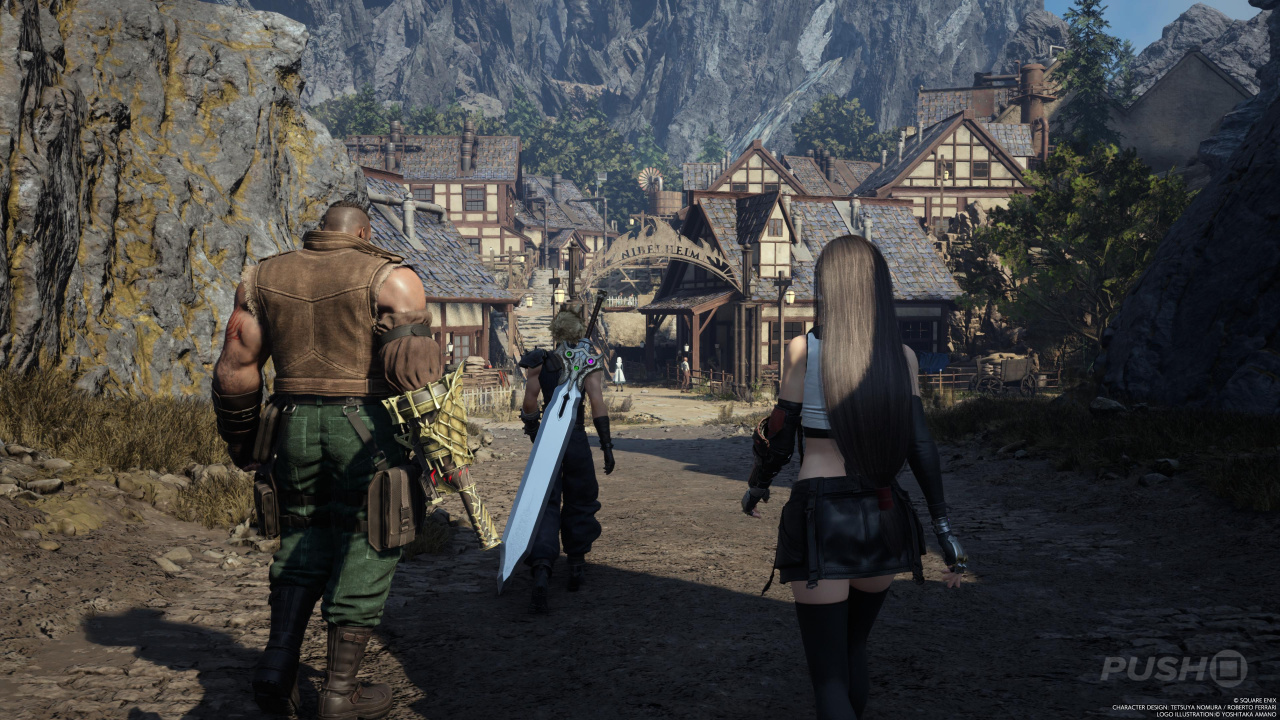
As soon as Cloud touches down in Nibelheim, he has a vision of Sephiroth and his demands for the Black Materia. Leave the airstrip in search of the protagonist's home town, using the objective marker as a guide, where you'll discover the entire village has been rebuilt. When you gain control, head for the main square to discover some shifty characters have moved in. Cait Sith will rush into a building for the Shinra terminal, leaving you to explore what the village is now and talk to your party members. Talk to Tifa, Aerith, and Barret, and go upstairs at the inn so Cloud can remember Zack. You can then see how Cait Sith is doing at the terminal in the Town Hall.
To gain permission to enter Shinra Manor, you'll need to talk to the deputy commissioner up on Mt. Nibel, so follow Cait Sith outside to the bottom of the path leading to the reactor. Use the rebuilt bridge to cross and grab the Crystal Gloves from the purple chest, then — after a cutscene in which Cloud remembers more of Zack — drop down into the combat arena, defeat the enemies, and go inside the cave.
Once inside, approach the glowing tree from Chapter 1 - Fall of a Hero for a cutscene. Exit to the right and you'll find yourself on the very same path as the start of the game, so this whole sequence should feel very familiar. Instead of shimmying across, you'll now use a rope to scale the mountain. Having beaten two Screamers on some flat land, grab the Igneous Saber from the purple chest, then continue using the yellow ledges to climb Mt. Nibel. The correct set of yellow ledges you need is the ones on the far right.
Subscribe to Push Square on YouTube168k
At the top, a Dragon stands in your path. Defeat that and then crawl through the gap in the rock it was guarding. You'll end up in the Mako Distribution Plant, and you can use the big pipes to get down. In this new area, move the machine in the back corner so it's next to the gap in the fencing with wooden boards covering it. You'll be able to jump over and then go through the staff-only door after beating a few enemies. At the end of the right-hand hallway, you can take the elevator up.
It's quite a long ride to the top, but once you're up there, you'll have made it to the reactor entrance... to only be greeted by dead bodies. Inside the reactor, use the elevator on the right and you'll come up against the Diabolic Variant. This boss shouldn't prove very difficult; all you need to watch out for is the fact it splits into two having lost roughly one-third of its health. This essentially means you need to defeat it twice, but since it's not a very tough encounter, you'll find this fairly straightforward.
With it down for the count, continue further into the reactor for more flashbacks and visions — this time for Tifa. Off the dead body, you'll find the ID card you need to enter Shinra Manor. The game then switches to the perspective of Caith Sith now you can enter Shinra Manor. Head there via the steps at the town square. Go inside and use the elevator on the left-hand side; a video message from Hojo will play in the next room, and a trap door will send the party down into a prison.
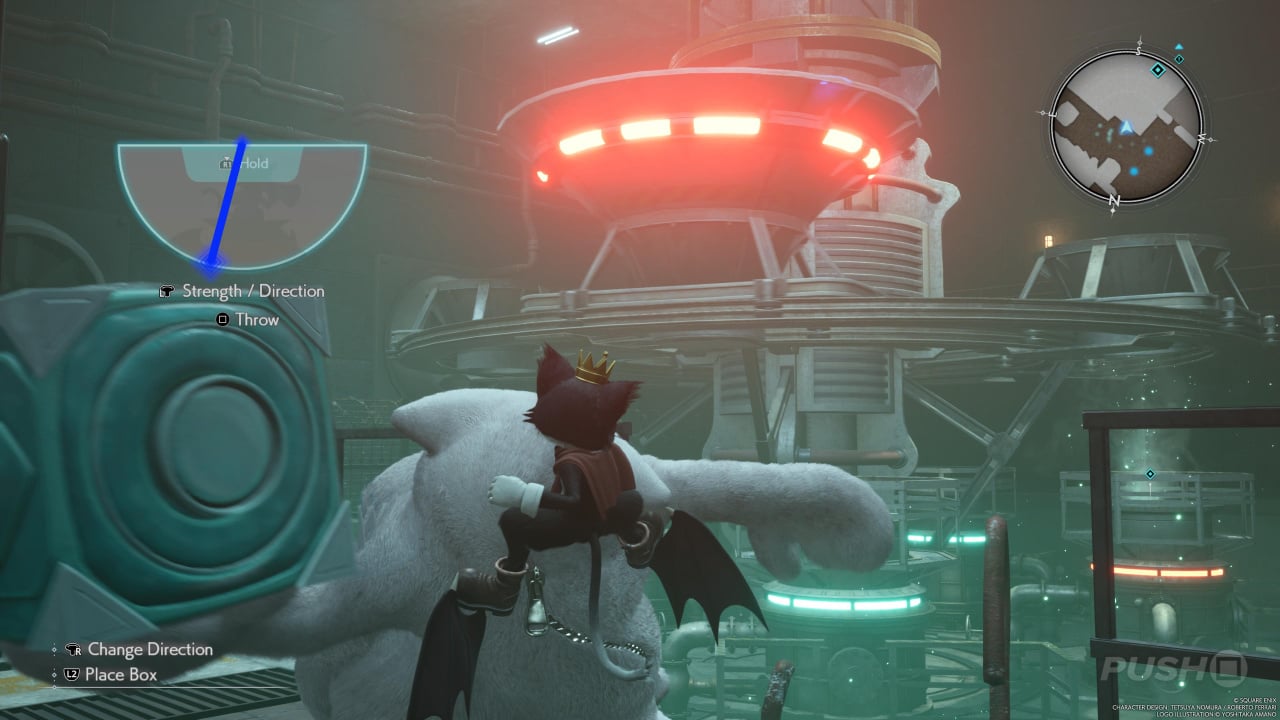
As Cait Sith, you now need to navigate the air ducts to find a way out. Roll through the duct, defeat the single enemy, then spawn your Moogle and press the switch on the ground to spawn a box. You can then use this and throw it at the red button next to the prison door holding Barret and Aerith. Follow the path around to find a console that'll call an elevator. It can't make it all the way down due to an overhanging pipe, so grab another box and throw it at the pipe to break the overhanging bit off. You can now get on the lift and head up.
When you reach the end of the next hallway, use the duct to bypass the locked door, then interact with the console to learn it's not being supplied enough power. If you drop a box now using the pad on the ground, the box will break. Go into the room to the right and push the stacked crates out. Now you can drop a box and it won't break; pick the box up and throw it at the pully just above the yellow wheel. You can now progress through the passageway with all the boxes with your party.
In the next room, defeat the enemies, then grab one of the new boxes and throw it on the moving platform that glows red. Time it right and the box will be correctly dropped where it needs to be. Repeat this once more and the door will be unlocked. Take the elevator at the end of the next corridor and you'll end up in Ventilation Control.
Use the Rest Stop and Shops up here if needs be, then interact with the next console to reveal the ducts in this room. The entrances need to be opened first, though, so spawn your Moogle and throw a box at the piece of equipment that's been raised on the floor (the purple Discovery). You can now enter the duct lit up blue to access the next floor. When you reach the third floor, spawn in the Moogle and throw a box down to the Discovery point again to toggle what air ducts are active. This will allow you to use the red duct on this floor and progress.
You'll find yourself in Materials Storage, defeat the two Adjudicators and use the console to find your next objective: throw boxes onto the elevator to lower it down to you. You'll need three boxes to complete the task, then you can get on and break the boxes to proceed. On this next level, Cait Sith will approach the computer and end up finding an enemy called Yin & Yang. Beat it to allow Barret and Aerith to join you.
Get on the elevator and wait for the safety inspection to pass. You can throw boxes at the conveyor belt as part of the Discovery, but it's not essential. At the top of the elevator, use the blue terminal and the hologram of Hojo will appear again, telling you to discover a 4-digit password. By moving the crates in the back left, you'll find 4 numbers. This gives you the password: 36, 10, 59, 97.
In the next room, beat the Forgotten Specimen boss, then you can enter the elevator in the back. You'll be reunited with the rest of the party here in the Underground Cavern, handing control back to Cloud. Go through the double doors for a cutscene where Vincent appears out of a coffin. When asked who your foe is, select "Sephiroth". You're then granted access to the Shinra terminal, and Cait Sith asks for a bit of time. Follow the glowing tube on the floor for another cutscene.
You'll now need to fight Vincent, who transforms into the Galian Beast. Take the elevator up after the fight, then leave Shinra Manor for Cait Sith to suggest returning the Gold Saucer to find a relic called the Keystone. Head back to Nibelheim for Roche to show up, who wants a boss fight with Cloud alone.
A series of cutscenes will follow after you come out on top, and with the party now setting its sights on the Gold Saucer, head back to the Nibel Airstrip so you can fly there. Talk to Cid and he'll take you to the Gold Saucer and Chapter 11 - The Long Shadow of Shinra will be over.
Did you find our walkthrough of Chapter 11 - The Long Shadow of Shinra helpful? For much more Final Fantasy 7 Rebirth information, including All Quests, check out our Final Fantasy 7 Rebirth guide through the link.


Comments 0
Wow, no comments yet... why not be the first?
Leave A Comment
Hold on there, you need to login to post a comment...