
How do you restore the Substation Power in Resident Evil 3? How do you bring the Trains Online in the Subway Office? We'll find out in part two of our Resident Evil 3 Walkthrough for PS4 along with How to Lure Nemesis Away.
Restore Substation Power
This is our first, proper task of Resident Evil 3. We're going to need to restore power to the subway so that we can leave Raccoon City.
First things first, however, let's take a look at the supplies Carlos has left us. Two Green Herbs (see also: All Herb Combinations and Their Effects) and two lots of Gunpowder (see also: All Ammo Crafting Combinations) can be found on the boxes in front of you as well as a breakable box containing a Red Herb.
Grab all of them, combining the items where possible. Once you're ready, save if you wish and head under the barrier.
Dodge the zombie which appears and head down the alleyway to your left, picking up the Handgun Ammo along the way.
Here, you'll come across two more members of the undead which you're going to have to kill if you want to progress. Do so using as few bullets as possible and pass through the gate.

You can now see the Substation ahead of you but the way forward is blocked by fire. We need to find a fire hose.
Double back and the zombies will break down the barrier between you and them, meaning it's time to take them down. Wait for them to huddle up around the red barrel nearby and kill them all with one gigantic explosion.
Head down the street towards Moon's Donuts and enter through the front door, dodging the zombies as you go.
In here, you'll find more Handgun Ammo, Gunpowder, a Green Herb, and a Fancy Box in the save room to your left.
Examine the Fancy Box to open it and find a Red Jewel inside. Place it in the nearby Item Box for now — we'll make use of it later.
Exit via the back entrance and you'll come across another street. Once again, get rid of the zombies by destroying them with a nearby red barrel and head into Kite Bros Railway.
Follow the corridor around, killing the zombie as you go, and you'll find the Fire Hose. Great, we can put out the fire blocking our path forward now!
Before you leave, however, head into the office and pick up the supplies in the lockers. You'll find more Gunpowder and a Hand Grenade.
Next, turn around and make note of the Shotgun locked behind metal doors. We'll come back for that later.
As you head back to the fire back on the main street, make sure to explore the Pharmacy to the left of Kite Bros Railway. It contains useful supplies such as a Green Herb and Handgun Ammo.
Another place to search is up the fire escape opposite the Pharmacy.
As well as yet more Handgun Ammo, you'll eventually come across a safe that's worth opening. The combination to open it is Left 9, Right 1, Left 8 (see also: All Safe Codes and Locker Combinations).
You'll be rewarded with a Dot Sight for the Handgun (see also: All Gun Upgrade Locations).
Exit and head up the metal staircase towards the roof of a building. Up here will be more supplies, including a Red Herb in a breakable box and Gunpowder.
Kick down the ladder and you'll find yourself directly in front of the fire you need to extinguish, so put that Fire Hose to good use.
Head through the door and the next room will include Bolt Cutters. Remember the Shotgun we noticed earlier? We strongly recommend you backtrack to Kite Bros Railway and pick it up at this point. You might not have the chance later on.
The Bolt Cutters can also be used on a gate to the left of your destination, leading to a small alleyway. Beware of the four zombies there, but you'll be rewarded with Handgun Ammo, a Frag Grenade, and Shotgun Shells.

Once you have the Shotgun, head back to the main street in Raccoon City, but walk towards the area's starting point.
Next to the neon Lone Wolf Cigarettes sign, there's a bolted set of double doors you can use the Bolt Cutters on. Inside will be another Fancy Box that contains a Blue Jewel upon examination. Now, do you remember the Red Jewel from earlier?
Head back to the area's starting point, where Carlos provided us with some supplies, and you'll be able to insert the two Jewels into a Monument in the same room. For your troubles, you'll be given a Hand Grenade and a Tactical Stock to improve the Shotgun.
Now, let's head back to the room where we originally found the Bolt Cutters and make some progress. After the proceeding cutscene, head up the stairs and back outside to be confronted by two zombie dogs.
Take advantage of the electric generator nearby to stun them and run by.
Go through the gate and you'll finally find yourself in the Subway Substation. A few zombies now stand in your path, so do your best to avoid them and head up the long flight of metal stairs.
A Red Herb is located at the top of the stairs, and a Hip Pouch can be found in the office ahead of you to extend your inventory space by two slots (see also: All Hip Pouch Locations).
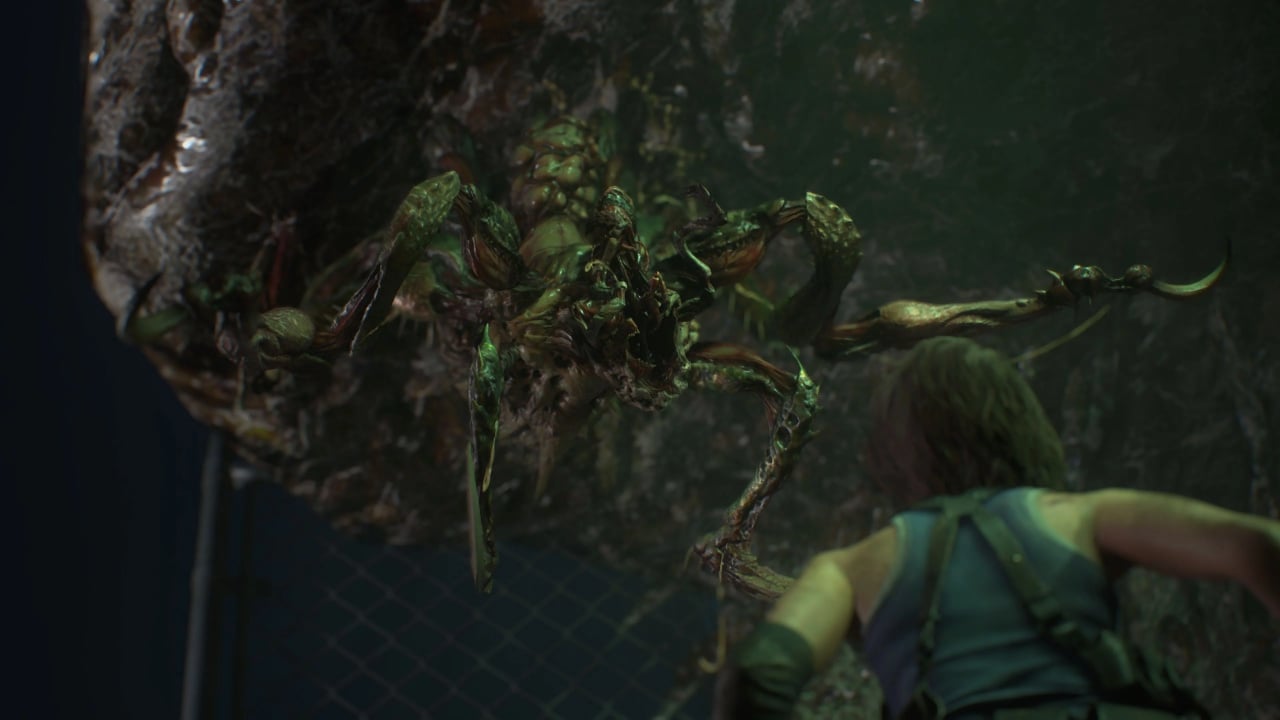
Head back outside, down the stairs, and grab the Lock Pick off the dead body. Use it on the yellow padlock and you'll be introduced to the disgusting Drain Deimos in the following cutscene.
When they attack you, you'll be left with the Parasite status effect. This can be healed using a Green Herb.
Now, we need to activate four power breakers in order to restore electricity to the area. Once you're in the Drain Deimos' lair, take the very first left you come across and head to the end of the tunnel.
Turn left again and you'll come across the first power breaker. Next, head to the end of the alley behind you and take the right at the end.
The next power breaker will be dead ahead. With half of them activated, double back to the lair's starting position.
From there, follow the tunnel to the very end and you'll come across the third power breaker. Take the nearby ladder and follow that path round to locate the last power breaker we need to activate.
With that done and out of the way, head back to the control room to trigger a cutscene.
Bring the Trains Online in the Subway Office
To complete the next objective, head back to Kite Bros Railway, making sure to use your Lock Pick on any yellow padlocks you spotted while exploring Raccoon City.
They always contain useful supplies. Once you reach the area where you first encountered the zombie dogs, however, Nemesis reappears. He's going to very aggressively chase you, dealing damage where it can.
We recommend running away and heading straight to Kite Bros Railway, but if you're feeling brave, you can take the Tyrant on. If you manage to down it, you'll be rewarded with an Extended Magazine for the Handgun.
Once you reach Kite Bros Railway, head to the room in the very back and interact with the main panel. You'll need to enter the route the subway train will take once you get back, and the solution looks like this:
RE 01 FA 02 RA 03 SA 02 FO 01
With that activated, head back to the subway train where you left Carlos. During this time, if you choose to beat Nemesis again, you'll be rewarded with a Moderator for the Handgun (see also: All Gun Upgrade Locations).
We recommend saving before meeting up with the group again.

Lure Nemesis Away From the Subway Station
After the cutscene, Nemesis is back on our tail. What follows is a very linear section of the game where the only thing you can really do is follow the path ahead of you.
Kick the yellow grate in three times to progress, leaving you in the Underground Sewer. Run forward and through the door to complete the section.
That brings us to the end of part two of our Resident Evil 3 Walkthrough, to continue from here you need part three: Escape The Sewers, Find The Lab, Escaping Nemesis


Comments 0
Wow, no comments yet... why not be the first?
Leave A Comment
Hold on there, you need to login to post a comment...