If there's one thing to know about Sekiro: Shadows Die Twice, it's that the combat is hard. Like, really hard. Treating this like a Dark Souls game will quickly get you killed -- this is a whole new set of skills to master. In this guide, we'll be going through the basics of combat in Sekiro so that you can better understand what you're getting yourself into.
Sekiro: Shadows Die Twice - How combat works
Let's go through the major points you'll need to know about Sekiro's combat if you're to survive your trek through Ashina.
Posture
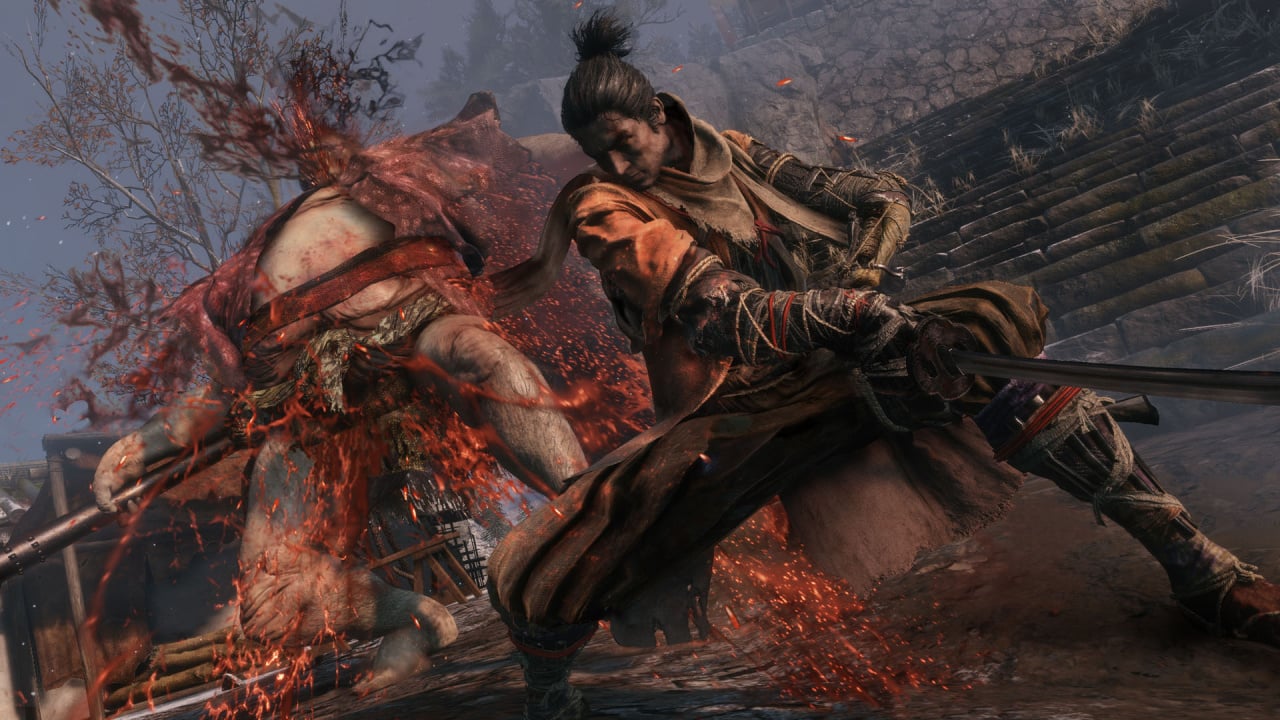
Posture is at the very heart of Sekiro: Shadows Die Twice. Instead of a stamina bar, you and your foes have posture meters that fill out from the middle. The aim of Sekiro's combat is to break an enemy's posture by filling the bar. At this point, a red dot will appear on the baddie, letting you execute a Shinobi Death Blow. This will finish off most enemies, regardless of how much health they have left.
You deal posture damage by attacking, whether or not the enemy is blocking. There are lots of ways to put your opponent at a disadvantage, which we'll get into below. It's important to remember that dealing damage to an enemy's actual health will increase the rate at which their posture bar fills. This will be crucial against bosses.
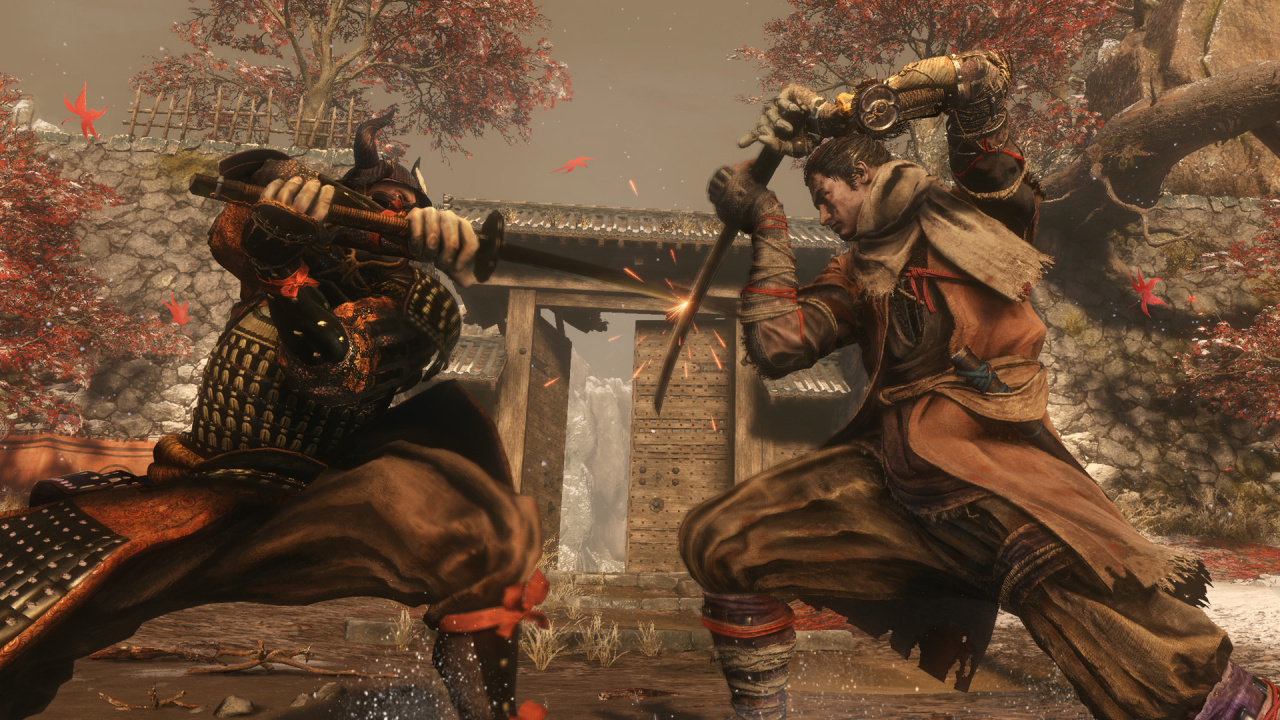
Deflections
Another core pillar of Sekiro's combat is deflecting, or parrying, incoming hits. You need to hit L1 just before the attack connects. If you're successful, you'll hear a loud clang as the swords bounce off each other. Deflecting should provide you with a window to get a few swipes in, which will deal significant posture damage.
It's key that you learn to deflect, rather than just block. Don't forget, you have a posture meter too -- standing there blocking everything will fill it up in no time, leaving you vulnerable. You're encouraged to go on the offensive more often than not, and deflecting allows you to get the upper hand.
Dodging, jumping, deflecting - which should you use, and when?
There are three methods to get away from enemy attacks, some of which are unblockable. These powerful attacks are signified by a red danger symbol appearing above Wolf's head. You need to watch your foe and figure out what they're going to do.
You should dodge to the side of downward swings with circle. Press X to jump over horizontal sweeps. Deflect thrusts right before they hit home. Successfully pulling these manoeuvres off will leave your opponent open to a counter attack. Use all the mobility at your disposal to avoid taking damage -- especially as even the regular enemies pack a punch.
Shinobi Prosthetic - Prosthetic Tools, what they do, and which to use
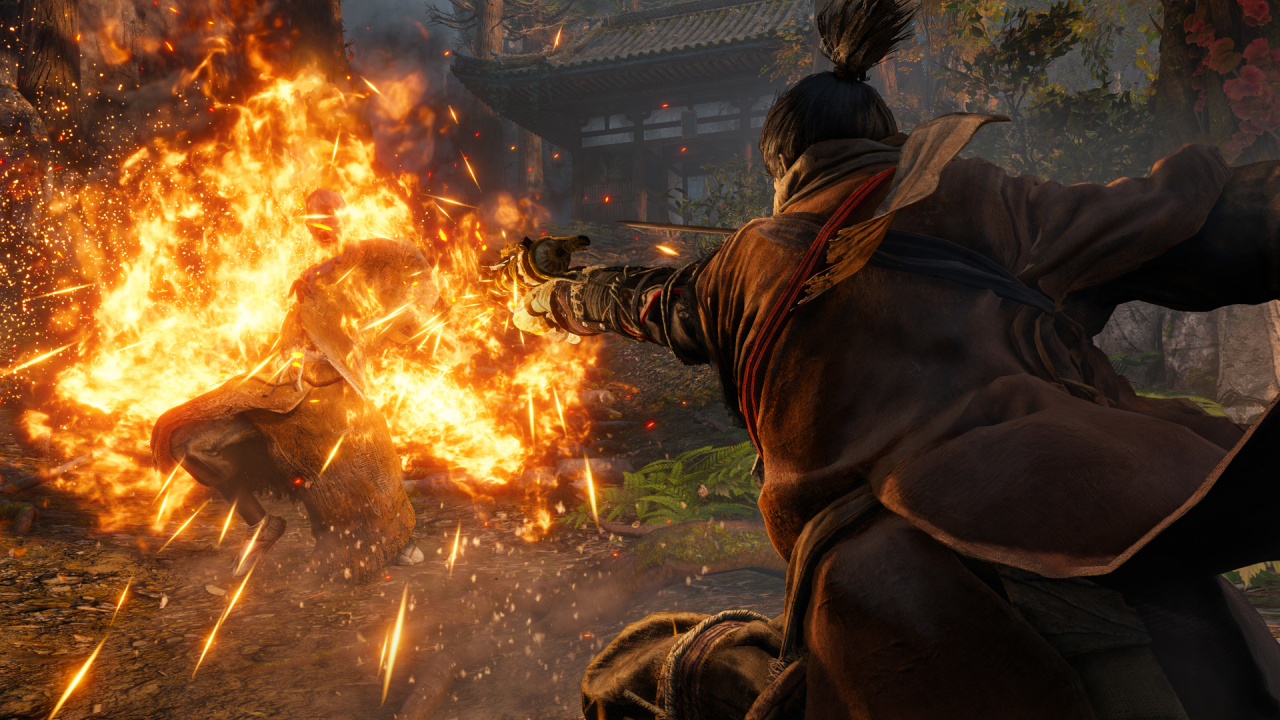
Don't forget your Shinobi Prosthetic. This false arm can do all sorts of useful things once you've unlocked some Prosthetic Tools. The first three you'll come across are Loaded Shuriken, Loaded Axe, and Flame Vent, but there are many more to discover as you progress. All of them have utility in combat, so don't be afraid to make use of them.
The Loaded Shuriken fires ninja stars at enemies, allowing you to attack from range. It's particularly useful against swift baddies and those that take to the air.
The Loaded Axe is a powerful but slow attachment that delivers a strong overhead blow. It's the best way to deal with enemies carrying shields, but it also works against others, dealing significant damage to posture.
The Flame Vent sends out a blast of fire at short range, inflicting regular damage and causing burn damage too. Enemies with red eyes fear fire, which is when this tool comes in handy -- literally.
Stealth
Last but not least, stealth is also very important to keep in mind. As a shinobi, it pays to take down foes quietly in order to thin the herd and even the odds. Use L3 to crouch, making yourself harder to spot. When in this position, you can enter tall grass or go beneath walkways to stay out of sight or hide away. Grappling up to a high point is also a good way of avoiding an opponent's line of sight.
You can perform stealth takedowns in two ways. You can approach an enemy from behind and, when the red dot appears, press R1 to perform an instant kill. Alternatively, you can strike from above. Lock onto a baddie with R3, make sure you have a clear line to them, jump, and press R1 when you see the same red mark. Stealth attacks are necessary when faced with large groups of enemies.


Comments 0
Wow, no comments yet... why not be the first?
Leave A Comment
Hold on there, you need to login to post a comment...