
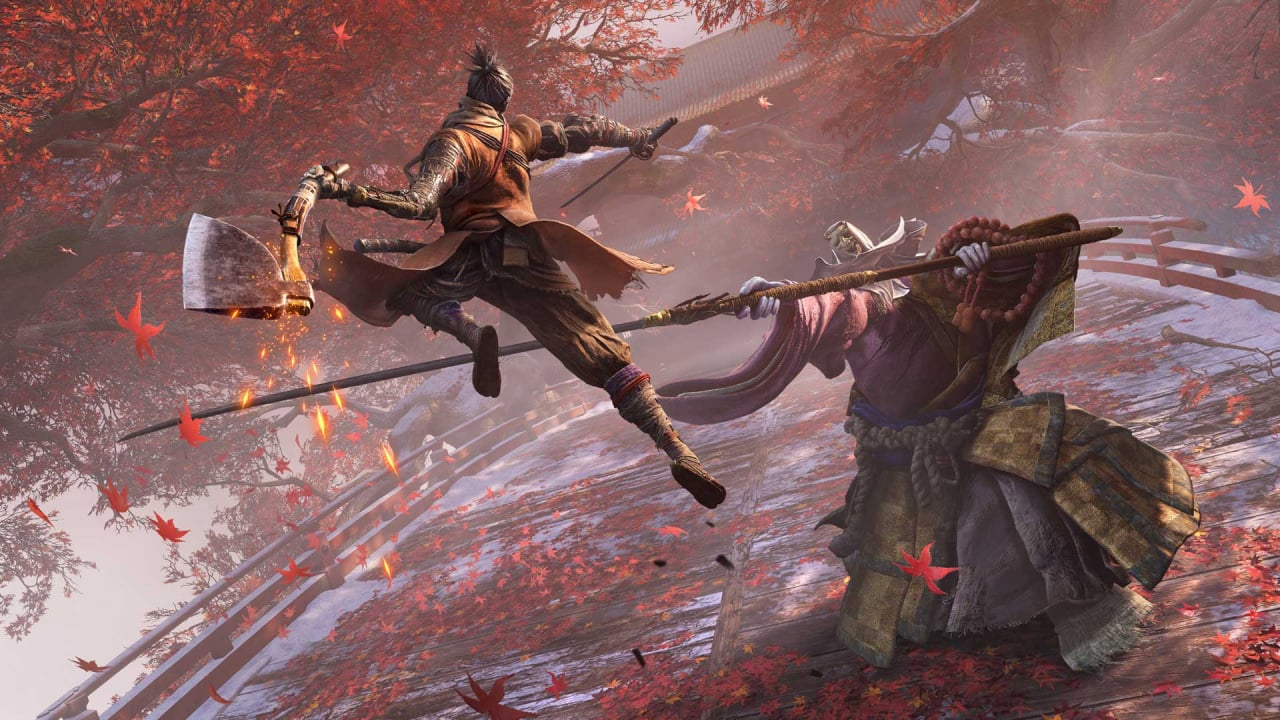
The Shinobi Prosthetic is a powerful and versatile secondary weapon in Sekiro: Shadows Die Twice. Throughout the game, you'll find Prosthetic Tools which can be installed into Wolf's false arm and provide all kinds of offensive and defensive abilities. From firing shuriken to an umbrella-like shield, there are lots of ways to use the Shinobi Prosthetic. In this guide, we'll be going through each tool in the game, as well as where you can find them in the world.
All Prosthetic Tools and where to find them in Sekiro: Shadows Die Twice
Below is a list of all Prosthetic Tools in Sekiro, along with a description of their uses and where they're located in the game.
Shuriken Wheel
The Shuriken Wheel becomes Loaded Shuriken when installed on the Shinobi Prosthetic. The first Prosthetic Tool in Sekiro, Loaded Shuriken fires ninja stars at your enemies. When you're locked on, press R2 to throw a shuriken. This weapon is particularly useful against fast moving foes and those that fly around or jump in the air. It takes one Spirit Emblem per use.
Where to find Shuriken Wheel in Sekiro
This one is very early in the game, right on your path. It's near the Outskirts Wall - Gate Path Sculptor's Idol. Grapple up into the corridor and it's on your left.
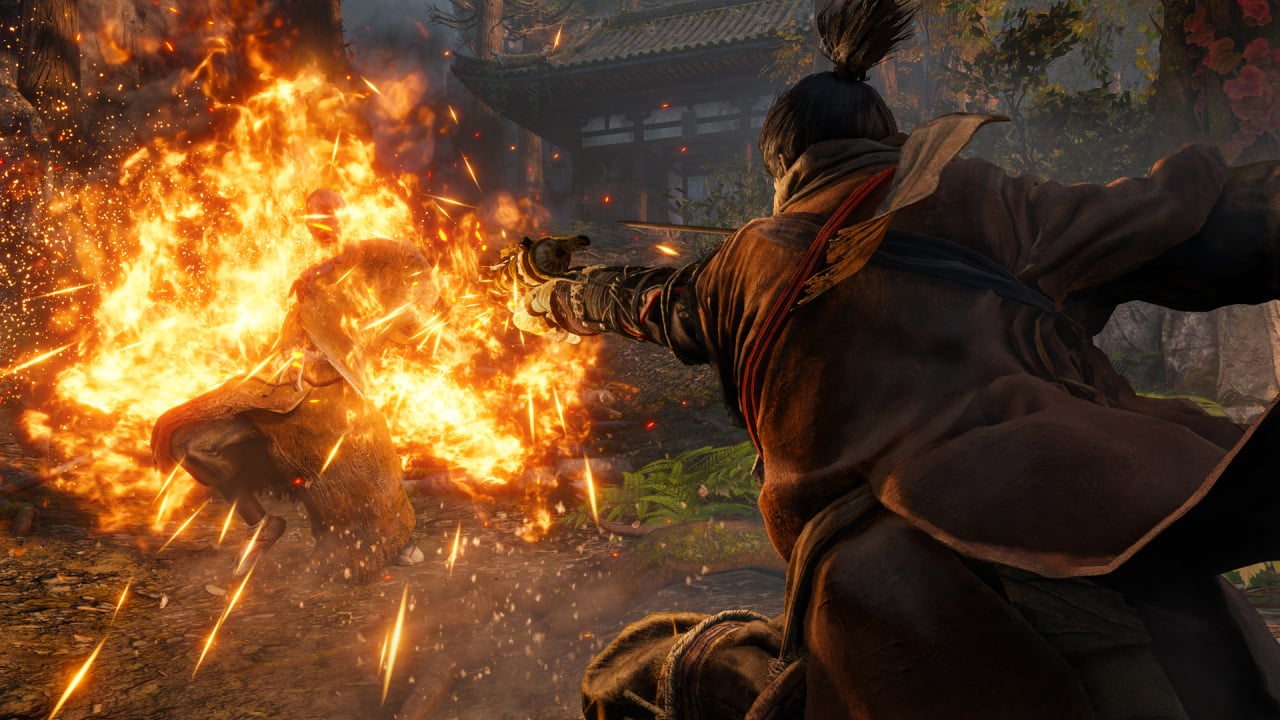
Flame Barrel
The Flame Barrel becomes Flame Vent when installed on the Shinobi Prosthetic. The Flame Vent is pretty self explanatory -- it launches a blast of fire from your hand, delivering a short range flame attack dealing regular and burn damage. It comes in handy against red eyed enemies like the Chained Ogre mini boss, who will be stunned by the fire for a long time. It takes three Spirit Emblems per use.
Where to find Flame Barrel in Sekiro
It's in the Hirata Estate area. From the Estate Path Sculptor's Idol, grapple up and to the right, and you should spot a bunch of enemies surrounding a bonfire. You'll need to take them out before you can grab the Flame Barrel, which is in the fire.
Shinobi Axe of the Monkey
The Shinobi Axe of the Monkey becomes Loaded Axe when installed on the Shinobi Prosthetic. This powerful axe packs a punch with a slow but strong overhead strike. Its slow buildup and limited range means you won't be using it all the time, but it's your best tool against enemies with shields and will otherwise deal a fair amount of posture damage. It takes two Spirit Emblems per use.
Where to find Shinobi Axe of the Monkey in Sekiro
This one is also in Hirata Estate. A little further along the main path, you'll encounter a couple of enemies you can eavesdrop on. Make your way over the wall they're facing and you'll be able to eavesdrop on another pair of enemies, discussing whether to burn a specific temple. Take them out and you'll find the Shinobi Axe of the Monkey inside.
Robert's Firecrackers
Robert's Firecrackers becomes Shinobi Firecrackers when installed on the Shinobi Prosthetic. This useful weapon sends out a wide spread of fireworks that explode shortly afterwards, stunning any enemies in your vicinity. It's very effective against animals and beast-like enemies, who are startled by the firecrackers and will stay stunned for a few seconds. It takes two Spirit Emblems per use.
Where to find Robert's Firecrackers in Sekiro
This one is easier to miss. You need to find the Memorial Mob, a traveling merchant who has Robert's Firecrackers for sale. The first place you'll find him is near the Outskirts Wall - Gate Path Sculptor's Idol. Head down to the destroyed house where you'll find an old woman, the one who gives you the bell that takes you to the Hirata Estate. From here you can grapple around a cliff and up onto a plateau. The merchant sells the item for 500 sen.
Gyoubu's Broken Horn
Gyoubu's Broken Horn becomes Loaded Spear when installed on the Shinobi Prosthetic. The Loaded Spear is a useful weapon that allows you to perform a long reaching thrust attack. If you strike an enemy with it, you can press R2 again to either pull them towards you or pull off some armour. It takes one Spirit Emblem per use.
Where to find Gyoubu's Broken Horn in Sekiro
Gyoubu's Broken Horn is hidden away somewhat. When you get to the Ashina Castle Sculptor's Idol, double back and grapple to the branch on the right of the bridge. Go through a doorway to eavesdrop on two soldiers on a larger bridge. Kill them and you'll get the Gatehouse Key.
Next, you want to get to the Ashina Reservoir Sculptor's Idol, which you can get to from this bridge by dropping down to the right and following the path. From here, grapple up and to the left. You should see a small raised building. Kill any enemies that might spot you, and use the Gatehouse Key to unlock the door of the house. Inside is a chest which contains Gyoubu's Broken Horn.
Mist Raven's Feathers
Mist Raven's Feathers becomes Mist Raven when installed on the Shinobi Prosthetic. This is an extremely useful tool that allows you to get out of harm's way. Press R2 and you'll enter a short state where, if you're attacked, you'll disappear and reemerge above or to the side of your enemy. From this position, you can get in some quick damage. If you can get the timing right, this is a godsend for tricky fights. It takes two Spirit Emblems per use.
Where to find Mist Raven's Feathers in Sekiro
Another Prosthetic Tool you'll find in Hirata Estate, although this one is much tougher to collect. From the Bamboo Thicket Slope Sculptor's Idol, you need to make your way up the hill until you come to the bridge with a big enemy on it. Head down and to the right -- you'll be able to grapple down to a pathway. At the end is a hidden passage blocked by bamboo. Cut it down and go to the end. You can wall jump your way up to the top of a cliff, and you'll see a tall temple in the background.
However, walking towards it triggers a fight with a very fast ninja enemy. He only has one health bar, but he's very tricky to take down. The usual rules apply here -- keep piling on the pressure and deflect his attacks as best you can. Once you do defeat him, you'll find the Mist Raven's Feathers in that temple. It's worth it.
Iron Fortress
The Iron Fortress becomes Loaded Umbrella when installed on the Shinobi Prosthetic. Another defensive tool, the Loaded Umbrella forms an impenetrable shield above the Wolf that will block incoming projectiles and other attacks, except for low sweeps. You can use it to deflect attacks too if you time it right. You can hold down R2 to keep the Loaded Umbrella out. It takes one Spirit Emblem per use (even while you keep it open).
Where to find Iron Fortress in Sekiro
This is another item that's sold rather than discovered in the world. This time, you'll want to speak to a character hiding away from the enemies near the Old Grave Sculptor's Idol. From there, look down and you should see a building with a hole in the roof. Drop inside and you'll find Blackhat Badger. He has some unusual items for sale, but most importantly, he has the Iron Fortress. It costs 1,600 sen.
Sabimaru
Sabimaru has the same name when installed on the Shinobi Prosthetic. This is a short blade with a six step combo that sees the Wolf slash with both swords in quick succession. Sabimaru inflicts poison status effect as well, which is obviously useful for certain enemy types. It takes one Spirit Emblem per use.
Where to find Sabimaru in Sekiro
Get to the Upper Tower - Antechamber Sculptor's Idol. This area has blue samurai enemies who are pretty tough to fight, so stealth through until you come to a big room with a hole down to the lower level. You can grapple to a beam where you won't be spotted. Below you will be a blue samurai and three regular baddies. Deal with them, then go inside the room they were guarding. You'll find Sabimaru in here.
Large Fan
Large Fan becomes Divine Abduction when installed on the Shinobi Prosthetic. This is a fairly tactical Prosthetic Tool that gives you the ability to turn lesser enemies around with a gust of wind. Doing so exposes them to a deadly backstab attack. It takes three Spirit Emblems per use.
Where to find Large Fan in Sekiro
For this one, you need to venture into the Sunken Valley. When you reach the Gun Fort Sculptor's Idol, follow the path down and you'll find a mini boss called, er, Long-arm Centipede Giraffe. It has an enormous flurry of strikes you'll need to do your best to parry, as well as a powerful sweep attack you have to jump over. It's a difficult fight, but once it's down, the Large Fan is at the back of the room.
Slender Finger
The Slender Finger becomes Finger Whistle when installed on the Shinobi Prosthetic. This is the final Prosthetic Tool in the game, and it's a good one. Lock onto an enemy and press R2 to send out a whistle only that enemy will hear. This will draw their attention, making them easy pickings for a stealth kill. You can also use the whistle on beasts to send them into a rage. In this state, they'll attack other enemies, which is handy. It takes three Spirit Emblems per use.
Where to find Slender Finger in Sekiro
This is probably the hardest one to get your hands on. To obtain the Slender Finger, you need to defeat Guardian Ape -- a late game boss found near the Bodhisattva Valley Sculptor's Idol. Once the creature is down and out, you'll automatically receive the item.


Comments 0
Wow, no comments yet... why not be the first?
Leave A Comment
Hold on there, you need to login to post a comment...