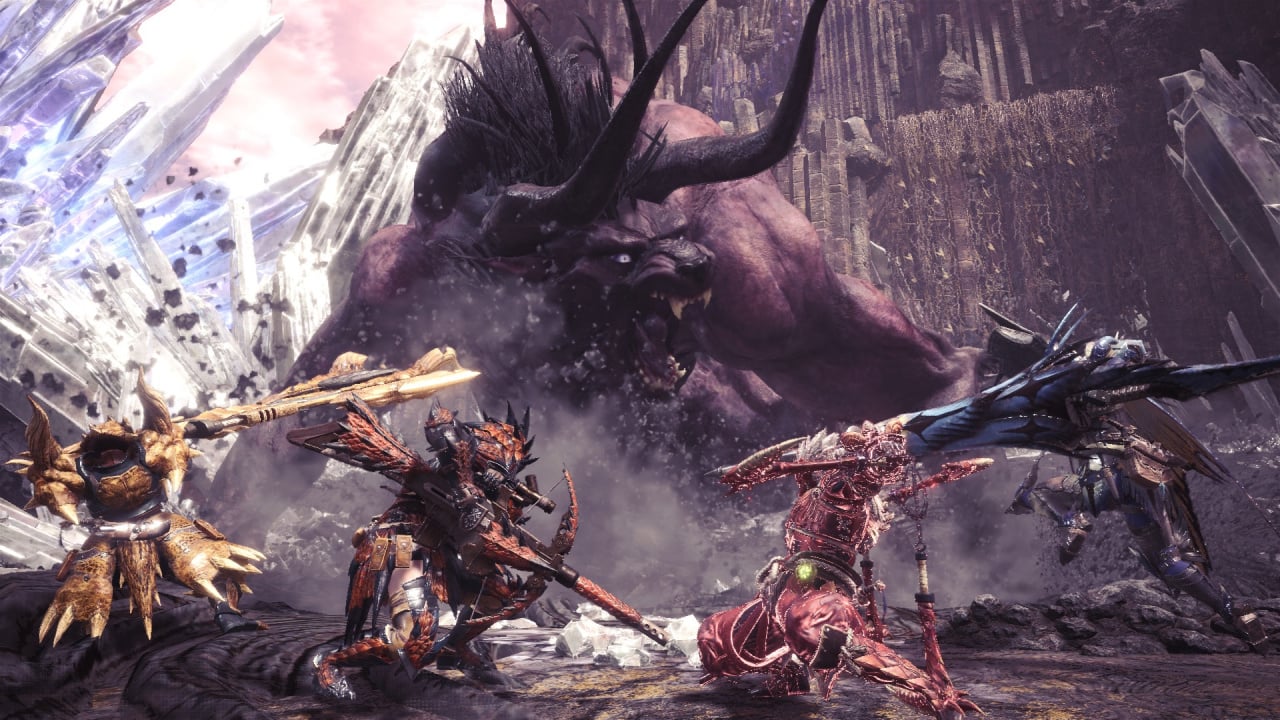
The Behemoth has arrived in Monster Hunter: World as part of the game's crossover event with Final Fantasy XIV. After completing two special missions -- one that sees you hunt a rather strange Kulu Yaku and one that tasks you with beating Behemoth up just enough so that he runs away -- you're granted the ability to properly hunt the big purple beast.
However, it's not quite your usual Monster Hunter battle. The Behemoth fight has a number of unique mechanics, and if you're caught off guard, you can quickly fail the mission. As such, we've put together this hopefully helpful guide on what you need to watch out for, and how to best deal with the mighty Behemoth.
Draw his attention
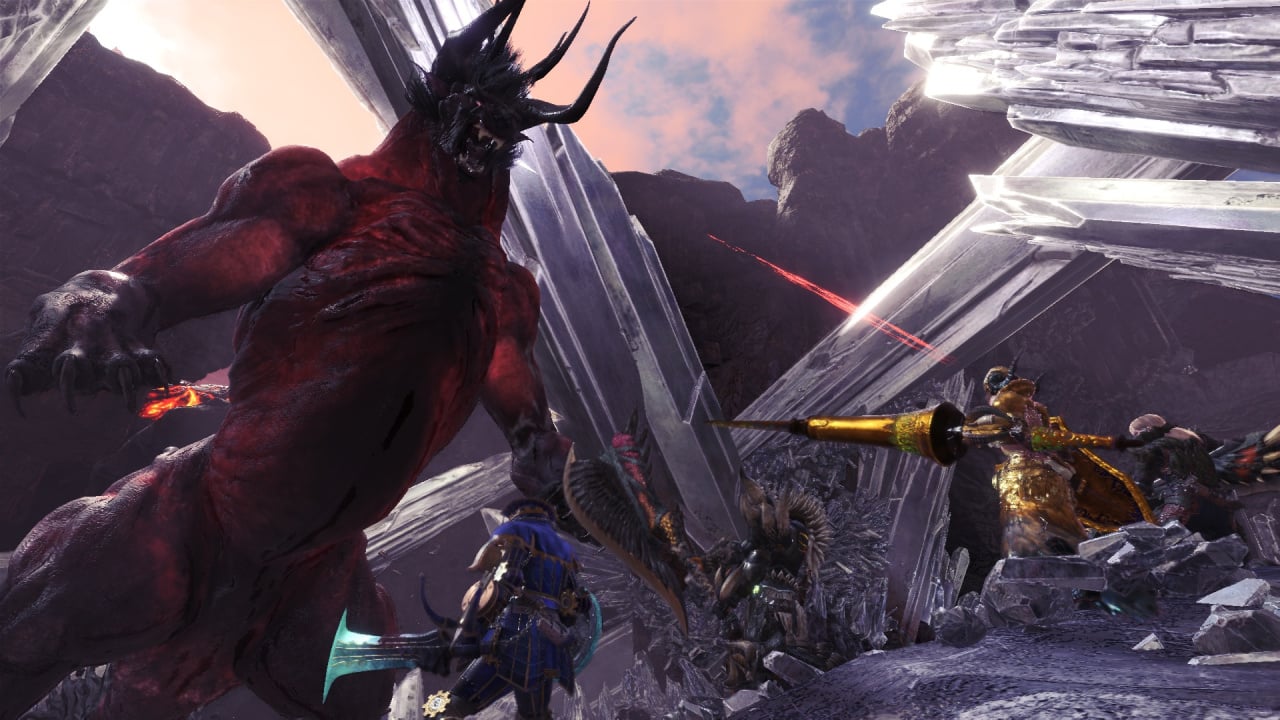
If you're fighting Behemoth alongside other players (which is recommended), it's important to note that you can actually draw his attention to a specific hunter. By attacking Behemoth's head, you'll eventually gain his 'enmity'.
'Enmity' is a fancy way of saying attention. Once he's focused on the player who's been attacking his head, you'll see a red, glowing line appear between the Behemoth and the player. When this line is apparent, the Behemoth will attack that hunter and only that hunter, meaning that the rest of the group can focus on dealing damage to other parts of his body.
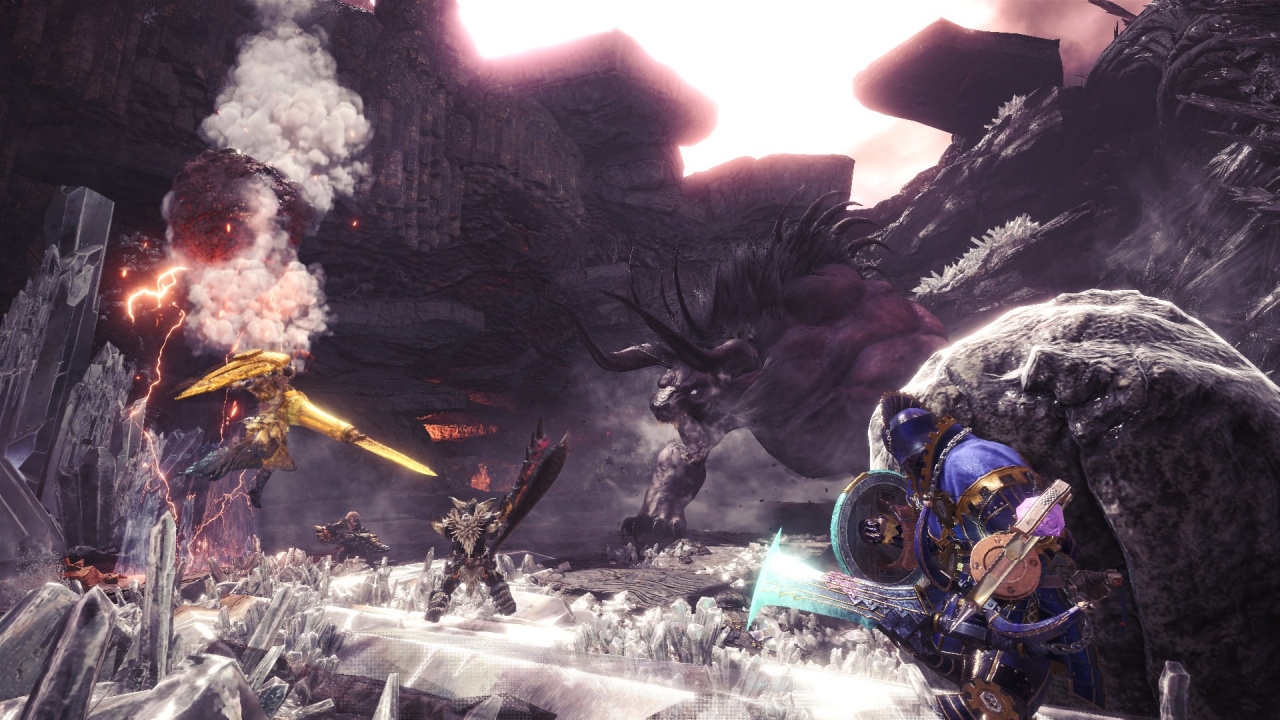
While drawing the Behemoth's attention isn't strictly necessary for actually slaying him, it can prove to be a big help. Behemoth has a lot of sweeping attacks and at times, he likes to run around like a huge excitable dog. By keeping his attention focused on one player, you give everyone else time to breathe and concentrate on dishing out as much damage as possible.
However, you need to remember that Behemoth is capable of dealing big damage with flurries of different attacks. As such, the player looking to draw his attention needs to be defensively minded. A weapon type that comes with a shield, like the lance, gunlance, sword and shield, or charge blade is obviously preferred, but you can also get away with a weapon that's able to guard, like the great sword or heavy bowgun. Stacking skills like guard can also be a big help, for obvious reasons.
Look for information boxes
This tip is key to leaning about Behemoth's behaviour and reacting to it appropriately. The little information boxes that pop up from time to time on the right side of the screen play an important role during the Behemoth fight, as they let you know what he's busy doing.
You see, Behemoth actually casts a number spells throughout the fight. In addition to simply hitting you with his claws, horns, or tail, he can make use of five different spells that you really have to be aware of: meteor, comet, thunderbolt, charybdis, and ecliptic meteor.
To keep track of what Behemoth is going to try and hit you with next, make sure to always keep an eye on your information boxes. As for what the spells actually do...
Learn to deal with each spell
As mentioned, Behemoth has access to five different spells that go a long way in making this fight feel unique: meteor, comet, thunderbolt, charybdis, and ecliptic meteor.
Meteor, comet, and thunderbolt are similar in that they're all somewhat simple, damage dealing moves. However, comet leaves behind a large rock that remains on the battlefield unless Behemoth's attacks smash it. You need to makes sure this doesn't happen, so try to draw him away from any comet rocks during the fight. If this means that your attention-grabbing hunter has to lure him to the other side of the battlefield, then that's exactly what they should be doing.
The comet rocks are so important because hiding behind them is the only (relatively easy) way to avoid the instant death of ecliptic meteor. When Behemoth begins casting ecliptic meteor, you'll have a reasonable window to stop what you're doing and run for cover. This means that keeping track of where each comet rock is can literally save your life. As soon as you see this spell pop up in an information box, run for safety as fast as possible. The glowing red ground indicates where ecliptic meteor will land, so just make sure to keep the comet rock between you and that red glow.
Again, being hit by ecliptic meteor means instant death, no matter how high your defence stat is and regardless of whether you guard or even use a farcaster to teleport back to camp -- it'll still kill you every single time.
There is one other known way to dodge the ecliptic meteor, but it's difficult to properly pull off. After the second Final Fantasy crossover event mission, you'll be given a new emote called dragoon jump. Activating this emote sees your character launch themselves into the air, and believe it or not, this can actually be used to dodge the ecliptic meteor. However, the timing is very tricky, so you're much better off running for that nearest comet rock unless you've absolutely perfected the technique.
The final spell to watch out for is charybdis, which is arguably more dangerous than the ecliptic meteor if you're not careful. Charybdis summons a tornado at the feet of one player. It takes time for the Behemoth to cast it, and the spell follows you around until the tornado fully appears. If you see wind starting to appear at your feet, or if you see the information box that says Behemoth is casting charybdis, make sure to run away from your teammates, and try to take the tornado as far away from the action as you can. This ensures that the tornado isn't constantly getting in your way during the fight.
The problem is that the charybdis tornadoes last a long time, and over the course of the battle, Behemoth can summon a bunch of them. Getting hit by a tornado sends you flying, and you can even end up bouncing between tornadoes for a cheap and easy death. As such, they can make the fight much harder than it needs to be.
Thankfully, there is a reasonably easy way to stop Behemoth from creating the tornadoes. When you see that he's casting charybdis, hit him with a flash bomb and he'll stop. Doing so can make the battle much, much easier, especially if it's dragging on for an extended amount of time.
Hit him with status effects
This tip can be a lot more important than it may first appear. Behemoth is an especially tough customer, but he's rather weak to status effects. He has two star weaknesses to blast, paralysis, poison, sleep, and stun, meaning that with the right weapons, you can really do some damage.
Because of this, coordinating your team's loadout is a great idea. Build up the right status effects and you can take full advantage of his weaknesses, making the overall fight that much easier. Paralysis can be especially helpful here, since you can use his inability to move in order to concentrate your attacks on his tail.
Chop off his tail
One of Behemoth's most troublesome moves is his tail swipe, which has huge range and can deal a massive amount of damage depending on whether he gets a clean hit with it. Fortunately, you can chop his tail off quite easily if you and your allies focus your attacks.
A great time to do this is when a player has drawn his attention. While he's focused on a particular hunter, run around to his backside and start unleashing the pain on his tail. Once it's been removed, his tail swipe becomes largely ineffective due to its severely stunted range.
And there you have it -- five essential tips for taking down the Behemoth in Monster Hunter: World. Have you taken this gigantic beast on yet? Show him who's boss in the comments section below.


Comments 5
Nice guide. Behemoth's weak to water as well. Managed to complete more runs today.
Regarding Ecliptic Meteor, has anyone tried going inside your camp/tent?lol
It's horrible. I've beeb trying all afternoon and didn't manage to kill him a single time. People keep getting carted to the Meteor
@Athrum Yup, same here. Fun fight but people keep getting carted, me included though lol, although I'm getting the hang of it now, have yet to finish a hunt.
@Bliquid I disagree on the flashpods especially since that's the most effective way to stop the beast from releasing tornadoes that like you say can block exits or even worse stop you from taking cover from the meteor because it's right behind the comet, and honestly I'm not surprised by the amount of people dying when even the so called Pro Hunters don't know what they are doing like this dude https://m.youtube.com/watch?v=80x9MJJub-s
If you watch the video he has zero teamwork like he could've save his teammate but he didn't care, fighting close to the comet risking the only way to survive the meteor and for some reason he survive one when he wasn't properly taking cover behind the comet but they managed to win because they knew the most important thing and that is to cover from the meteor not the monster the red spot you see in the floor is the thing you need to take cover, almost 99% of the time I failed the quest because they take cover from the monster not the meteor it's funny seeing people taking cover on the other side of the meteor 😂
@Bliquid Basically you didn't recommended flashpods and I do.
And my Pro Tip, the most important thing is to cover from the meteor not the monster
Tap here to load 5 comments
Leave A Comment
Hold on there, you need to login to post a comment...