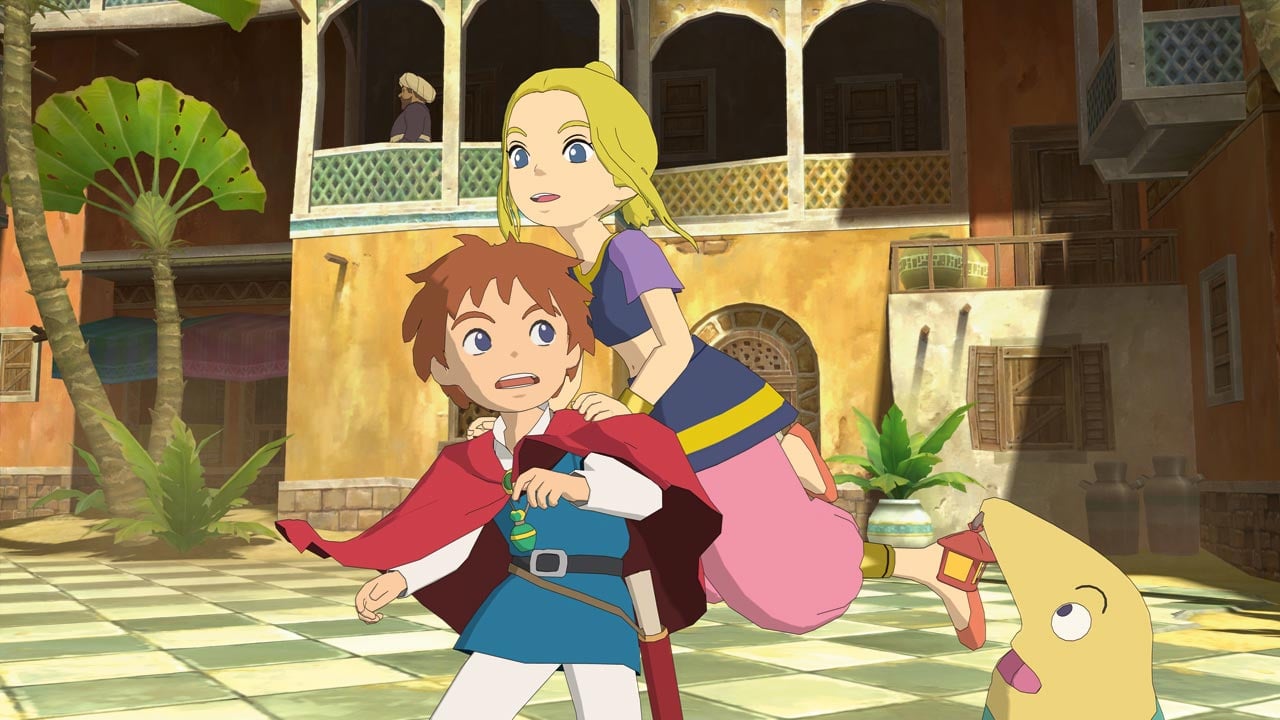
Welcome back to our guide to defeating those pesky baddies in Ni No Kuni: Wrath of the White Witch. This guide will take us from that "rotter of a squid" Royal Jelly right through to the vilest of all anatomical parts, Vileheart. The majority of these boss battles can be challenged consecutively without the need for a great deal of level grinding, however you may wish to go in search of some Tokos on Ugly Duckling Island (to the East) before you attempt to take on Cerboreas if you don't have strong fire type familiars.
Table of Contents
- How to Beat Moltaan, Al-Khemi, and Shadar
- How to Beat Royal Jelly, Porco Grosso, and Cerboreas
- More coming soon

Royal Jelly
Location: Mummy's Tummy
Attacks: See Stars, Bolt from the Blue, Baby Shower
Try to be at Level: 23 or 24
Knickers! A giant jellyfish has stolen the littlies and it's your job to get them to safety. Like most bosses, Royal Jelly has three main attacks, two of which you really need to watch out for. Bolt from the Blue is a big electric attack which targets your whole party, causing large amounts of damage if you don't defend against it. Baby Shower is particularly annoying as it causes the big sea monster to spawn lots of little jellyfish, which you'll have to dispatch quickly before they take out your dim-witted team members (by which we mean Esther). The easiest method to do this is to instruct Swaine to keep attacking Royal Jelly, while Oliver picks off the offspring, and leaving Esther on 'Keep Us Healthy' because she is incapable of doing much else. Royal Jelly's last attack is See Stars which causes a slight bit of damage and confusion if you don't defend against it, but can easily be remedied with a Confusion-Be-Gone.
To defeat Royal Jelly as quickly as possible, make sure that you're at the suggested level (24-ish) and keep your distance from the tentacles as much as possible. Oliver's Pulse spell is fairly effective against the boss, as is his Fireball spell. As the jellyfish is weak against fire type attacks, it's a good idea to use Oliver's Burning Heart special move when a golden orb appears in order to deal out maximum damage. Use familiar physical attacks quickly after Royal Jelly has missed a few moves, ideally with your Thumbelemur.
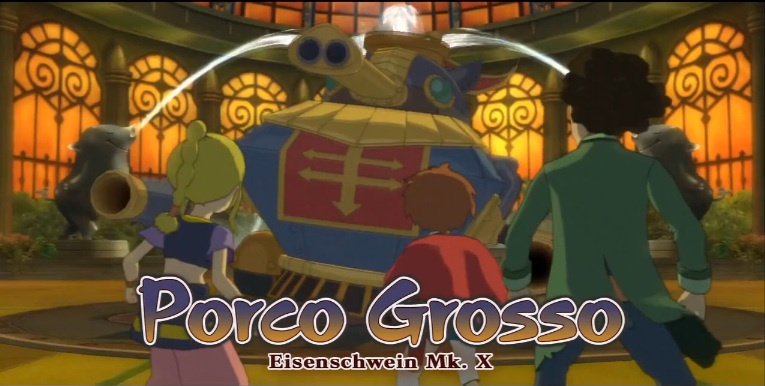
Porco Grosso
Location: Hamelin
Attacks: Hog Roast, Road Hog, Porco Salvo, Gammon Cannon
Try to be at Level: 25
Being in a city obsessed with pigs and surrounded by mecha familiars, it's really unsurprising that this boss battle pits you against a giant mechanical pig. Contrary to what we said in the last boss guide, this little piggie has four special moves all of which can do sufficient damage if not properly defended against. This boss can also use fire type attacks such as Hog Roast, which blasts anyone close to the robotic pig with a flamethrower, but can easily be avoided by keeping all your party members back. Porco Grosso will also attempt to randomly run you over using its Road Hog attack, so keep your party on the move as soon as you see it charging and out from under its wheels. The move Porco Salvo, which targets a single party member, can deal out huge amounts of damage by blasting you five times, if not adequately defended from. Its other big shooting attack is Gammon Cannon, which while only targeting one party member, can drain all of your HP and leave you down and out for the count if not defended against.
The best elemental attacks to use against the hot-blooded hog are storm attacks, such as Thunderspark from Esther's Drongo (the penguin familiar). Physical attacks will do little damage, so it's best to keep a good distance and hit Porco Grosso with as many of Oliver's strongest spells as possible. Make sure you stock up on plenty of sandwiches before attempting this one!

Candelabracadabra
Location: Tombstone Trail
Attacks: Snuff Out, Boo, Wacko Lantern
Try to be at Level: 30
Soon you will be one with the legendary Mornstar wand, but first you'll have to get past its guardian Candelabracadabra, otherwise known as 'that boss with the ridiculous name'. The candle has three main attacks: Snuff Out, Boo, and Wacko Lantern. Snuff Out simply blinds any party members that fall prey to its attack, so try avoiding this by selecting All-Out Defend as soon as you see it preparing. Also make sure that you're stocked up on remedy items. Boo hits the whole team and attempts to curse you, so once again hit All-Out Defend and make sure that you have the necessary items. Wacko Lantern is the boss' main attack, hitting the whole team with a stream of blue fire and causing a considerable amount of damage. There is no way to avoid this attack, so remember to defend your whole party to stop the candle inflicting too much damage.
This ghoulish boss is somewhat similar to those Nightmares you've been facing in previous battles, as it is weak against light attacks, so make sure that you use Oliver's new spell Arrow of Light (12MP) and any familiars that have learnt light moves. If you have the Thumbelemur familiar (or any of his later evolutions) use their special attack instead of Oliver's Burning Heart if you see a golden orb on the battlefield, as this boss is also weak against physical attacks.
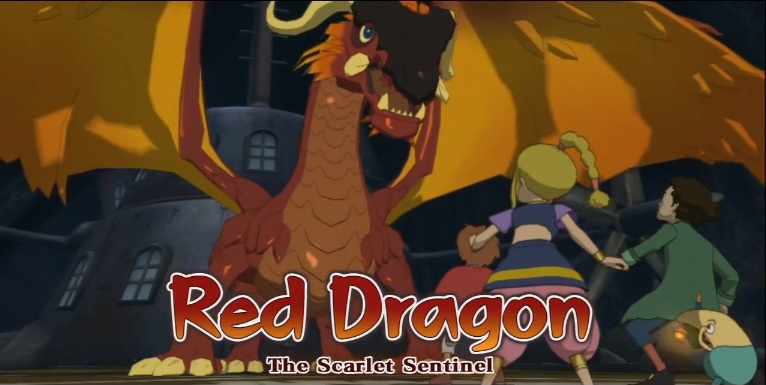
Red Dragon
Location: Skull Mountain
Attacks: Dragon Breath, Dragon Scales, Firestream
Try to be at Level: 30+
Did you really think that you could just stroll into the King of the Sky Pirates' hideout without having a stand-off with a Dragon? You thought you could just chat to Kublai without defeating him in a fight? Oh no, that would be far too simple. The eloquently named Red Dragon has three main attacks, one of which (Dragon Scales) simply raises the boss' defence, so don't attempt to attack him straight after that. The other two attacks, Dragon Breath and Firestream, are both fire-based and only generally hit one target. Dragon Breath sends waves of fire across the battlefield targeting one character, so it's best to defend against this one and look out for the fire wisps that are left behind. Firestream on the other hand is a lot easier to avoid, as the dragon must charge his fire beam attack, meaning that you can easily run away. One point of caution: do not let yourself be backed into an invisible corner of the battlefield when attempting to run from Red Dragon's special attacks, as the field looks deceptively bigger than it actually is.
As Drippy points out during the battle, Red Dragon has a great weakness to poison, so use Swaine's Rotshot (5MP) as often as possible, while swapping between Oliver and his Frosbite spell. Make sure to hit Red Dragon as many times as possible before it uses its Dragon Scales move, increasing its defence, otherwise your efforts will be fruitless.
[Note: The next major battle will be Denny's Nightmare, which is not covered in this guide.]

Aapep
Location: Vault of Tears
Attacks: Death Rattle, Serpent Strike, Black Bolt
Try to be at Level: 33
You can do the next two boss battles in any order, but we would highly advise you tackle the Vault of Tears and take on Aapep: King of Cobras first. Even though the icy region of Yule may seem more enticing, defeating Cerboreas may prove too difficult at this point. While Aapep may be quite fast, his attacks are not particularly damaging. Death Rattle targets your whole party and curses them, which can be easily remedied and defended against. Serpent Strike causes Aapep to lash out on the battlefield with its tail, damaging any party members in its way. While you can simply run to the edge of the battlefield to avoid this, it's still best to select All-Out Defence in order to protect Swaine and Esther. Black Bolt targets one particular party member and then spits a dark ray at them, so try to defend against this as soon as you see Aapep charging.
Aapep may have that ominous looking staff in his hands, but his greatest asset is his speed, so in order to take him down quickly use Oliver's Burden spell to slow down the cobra, providing you with a 'Chance' to attack. Use this chance to hit the boss with strong physical attacks and then use Fireball and Arrow of Light spells from a distance.

Cerboreas
Location: Glittering Grove
Attacks: Cold Boulder, Howling Blizzard, Glacial Guard
Try to be at Level: 38
Cerboreas is undoubtedly one of the hardest boss battles you will face during your time with Ni No Kuni, as he is dramatically stronger than your last opponent Aapep. His special attacks can cause a great deal of damage, but equally so can his normal melee moves as he manoeuvres around the battlefield. One of Cerboreas' favourite normal attacks is his rolling move, which he often spams, draining your HP. Cold Boulder is one of his special moves and sends an icy boulder at one party member, which can be quite damaging if you fail to defend in time. Glacial Guard is similar to Red Dragon's Dragon Scales, and simply increases his defence, so once again, do not attempt to attack Cerboreas immediately after he has used this move. Howling Blizzard is the boss' most destructive move, as it hits the whole party with an icy wind attack – make sure to use All-Out Defend, otherwise this battle may be over very quickly.
The best method to taking down Cerboreas is to keep on the move and use as many fire type familiars as possible. While the boss creature may be weak against Oliver's Fireball, it is not a particularly strong spell, so it's advisable to level up a few familiars you might have nabbed back at Old Smokey and use strong fire-type moves such as Firewall. Oliver's Burning Heart is the best special attack to use if you spot a golden orb, otherwise keep alternating between fire-type familiars and make sure that you have your guard up as soon as Cerboreas starts charging an attack. Also, make sure to look out for chunks of ice on the battlefield, which can cause slight damage if you run into them.
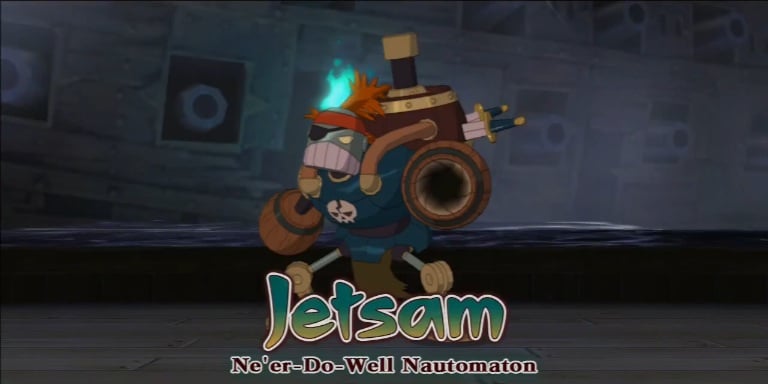
Jetsam/Cap'n Crossbones
Location: Ghost Galleon
Attacks: Jetsam: Barrel Blast
Try to be at Level: 40
Before you reach the Ghost Galleon ship, make sure that you're prepared for battle, as this time you won't be facing one boss, but rather two. But don't worry too much, Jetsam is more of a mini-boss, having only one special move called Barrel Blast which is a projectile based attack and causes a medium amount of damage. To dispatch Jetsam quickly use familiars with thunder type attacks like Esther's Drongo. It only takes a few blasts with Thunderspark to bring him down.
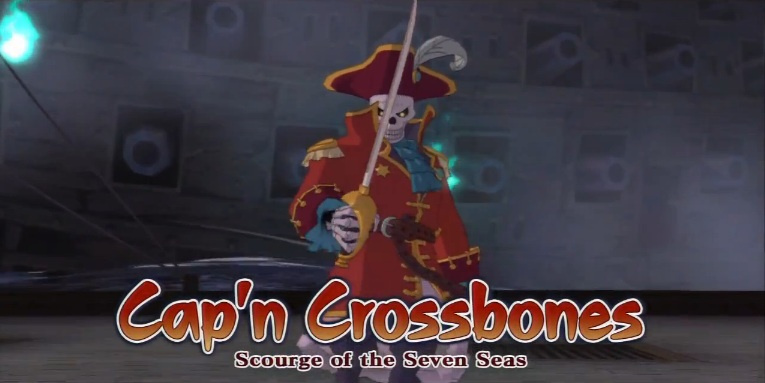
Attacks: Cap'n Crossbones: Swash-Buckler, Hammock Hack, Plunder
Cap'n Crossbones is the real deal, and much harder to shake off. Most of his special moves make use of that big sword that he wields, such as Swash-Buckler which sees the ghostly captain slicing in a circular motion, so make sure that you keep all of your party members back. Hammock Hack is another sword-based attack and targets a single party member, and sometimes sends them to sleep as well. There is little opportunity to avoid this attack, so make sure to defend and keep a few anti-sleeping items in supply. Plunder is a bit of a cheeky move, which takes away some of the target's health and restores that of the boss'. Do your best to stop Cap'n Crossbones stealing too much of your health by defending as soon as you see this move charging.
Unfortunately, Cap'n Crossbones has no specific weakness, so just use Oliver's most effective spells and your strongest familiars to deal out physical damage. Oliver's Arrow of Light is the best spell to use as it's particularly strong against the boss creature, however it does have the habit of draining your MP quickly, so combine this with other spells and strong familiar attacks.
[Note: The next major battle will be Khulan's Nightmare, which is not covered in this guide.]
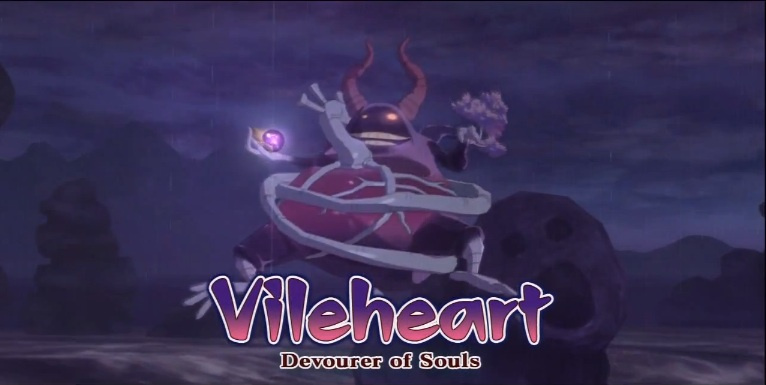
Vileheart
Location: Miasma Marshes
Attacks: Viledriver, Vilebreath, Vilence
Try to be at Level: 46+
Vileheart may seem like a daunting opponent, after all he is Shadar's sidekick, but really he can be a bit of a push-over if you know how to tackle him. His main two special attacks are Viledriver, a slamming attack which hits all party members close-by (and occasionally stuns), and Vilebreath, which poisons your whole party but doesn't cause any physical damage. Both attacks can be easily guarded against, and any poisonings can be cured either using a Poison-Be-Gone or Oliver's Draw Poison (4MP) spell. Every now and again, Vileheart may also use a melee move, chaotically slamming into you, so keep on the move and out of his way. To defeat this boss, use light magic attacks, and make sure that you fill your party with any strong familiars that know light attacks. Oliver's Arrow of Light is very effective against Vileheart, so make sure to mix it up with a few doses of that new Unleash spell you've recently acquired to harness the power of the previous boss creatures. Sometimes after Vileheart has performed his Viledriver move he may become tired and give you a 'Chance' to attack. Make the most of this by hitting him with strong physical attacks and your Arrow of Light spell.
Soon after defeating this boss, and witnessing a cut-scene, you'll soon realise that unfortunately you didn't put Vileheart down and out for good. Now you have unlocked the power of the Mornstar, this battle will be incredibly easy and over in a flash. Vileheart has one new special attack called Vilence which is another slam attack which can also stun you – make sure to defend against this. Knock him out quickly by spamming your new Mornstar (36MP) spell a couple of times. Easy peasy.
Don't give up now Ollie-boy, Shadar is just around the corner, along with the last part of our boss guide.


Comments 0
Wow, no comments yet... why not be the first?
Leave A Comment
Hold on there, you need to login to post a comment...